Fresh peaches are in season and my Easy No-Bake Peach Tart is a delicious way to showcase the supersweet farm-fresh peaches.
Updated from the original post dated July 2011.
For this wonderful fresh creamy concoction, I only needed the oven for a few minutes to bake the tart shell, after that, it was as easy as pie or should I say tart?
Of Course, you can buy a prebaked tart shell or pie shell and not have to worry about the oven at all.
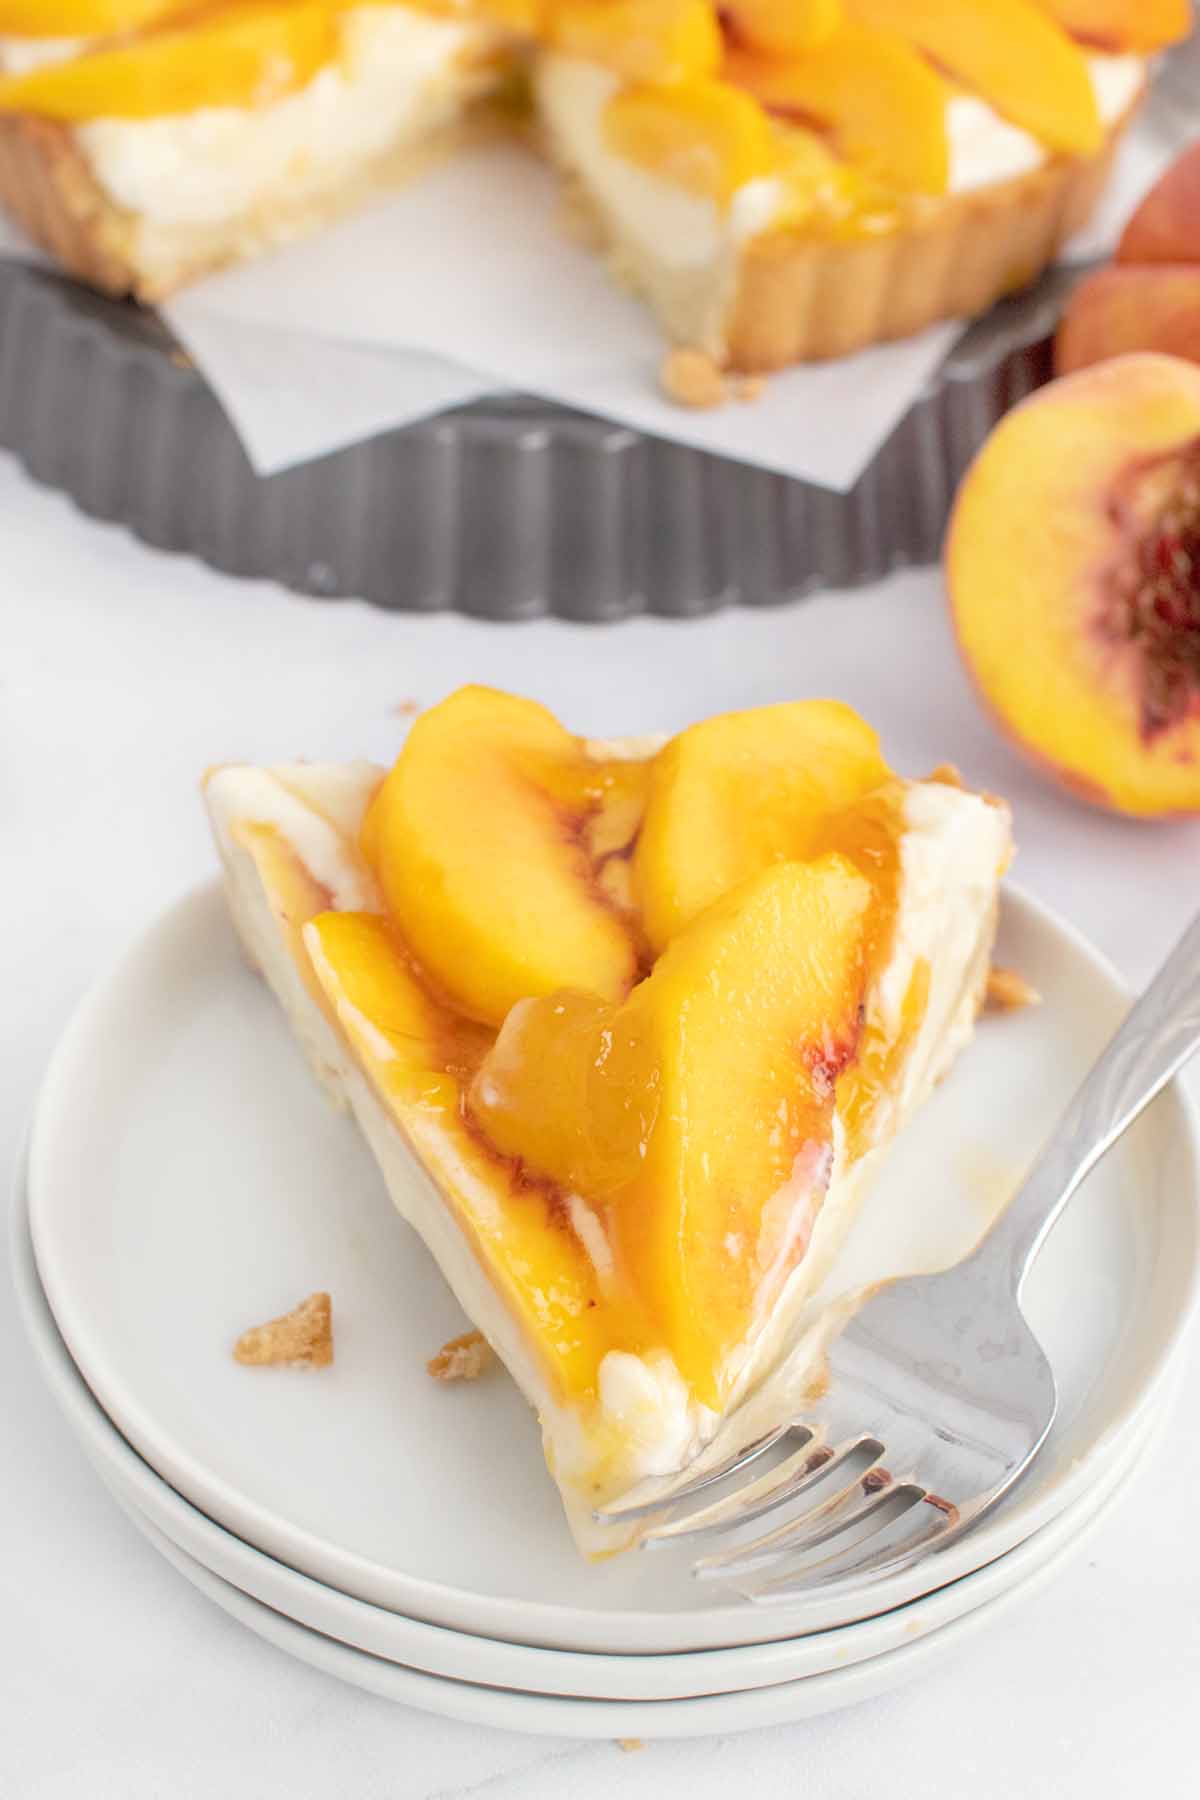
One of the easiest pies to make, and the perfect treat on a hot summer’s day, cold and creamy with those luscious fresh peach slices.
What ingredients do I need to make No-Bake Peach Pie?
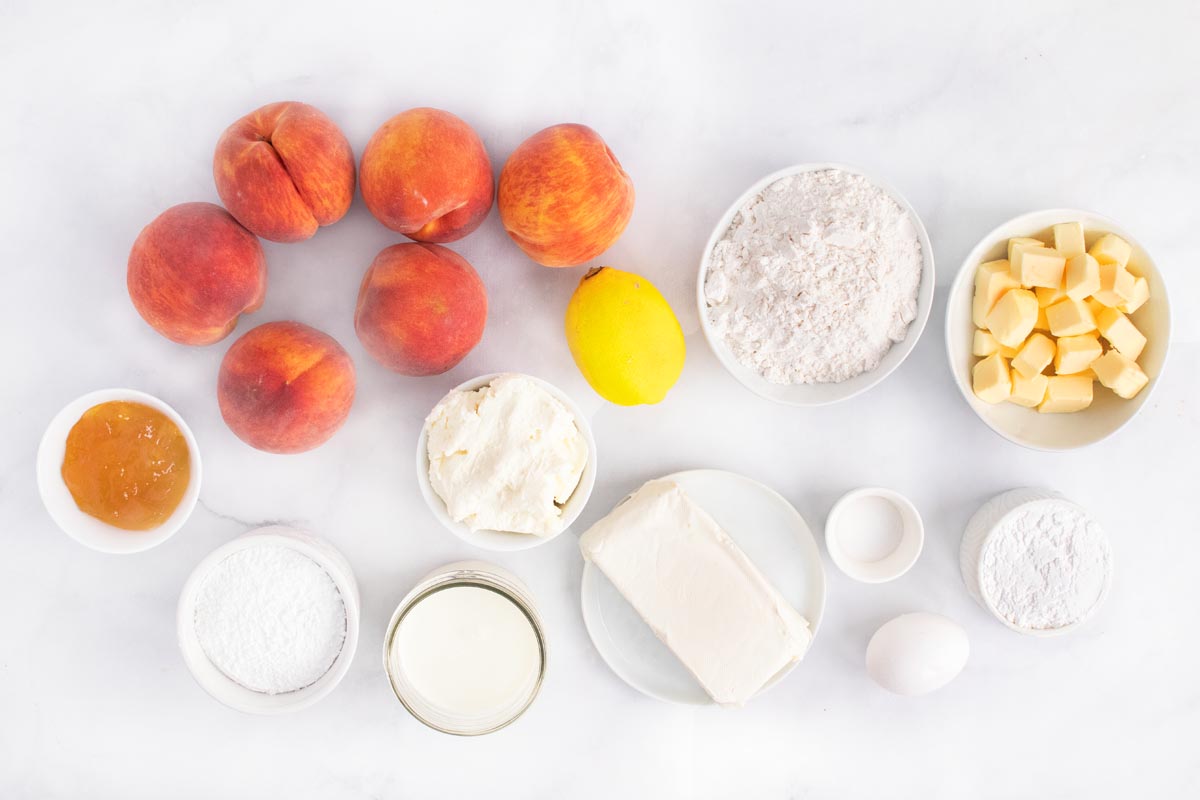
Let’s start by gathering the ingredients we need to make my no-bake peach tart. In Chef Speak this is called the “Mise en Place” which translates to “Everything in its Place”.
Not only does setting your ingredients up ahead of time speed up the cooking process, it also helps ensure you have everything you need to make the dish.
*If you can’t get a hold of fresh peaches, frozen peaches will work.
How do I make the pie crust for the tart?
I love using a food processor to make pie crusts, it takes all the work out of making the dough.
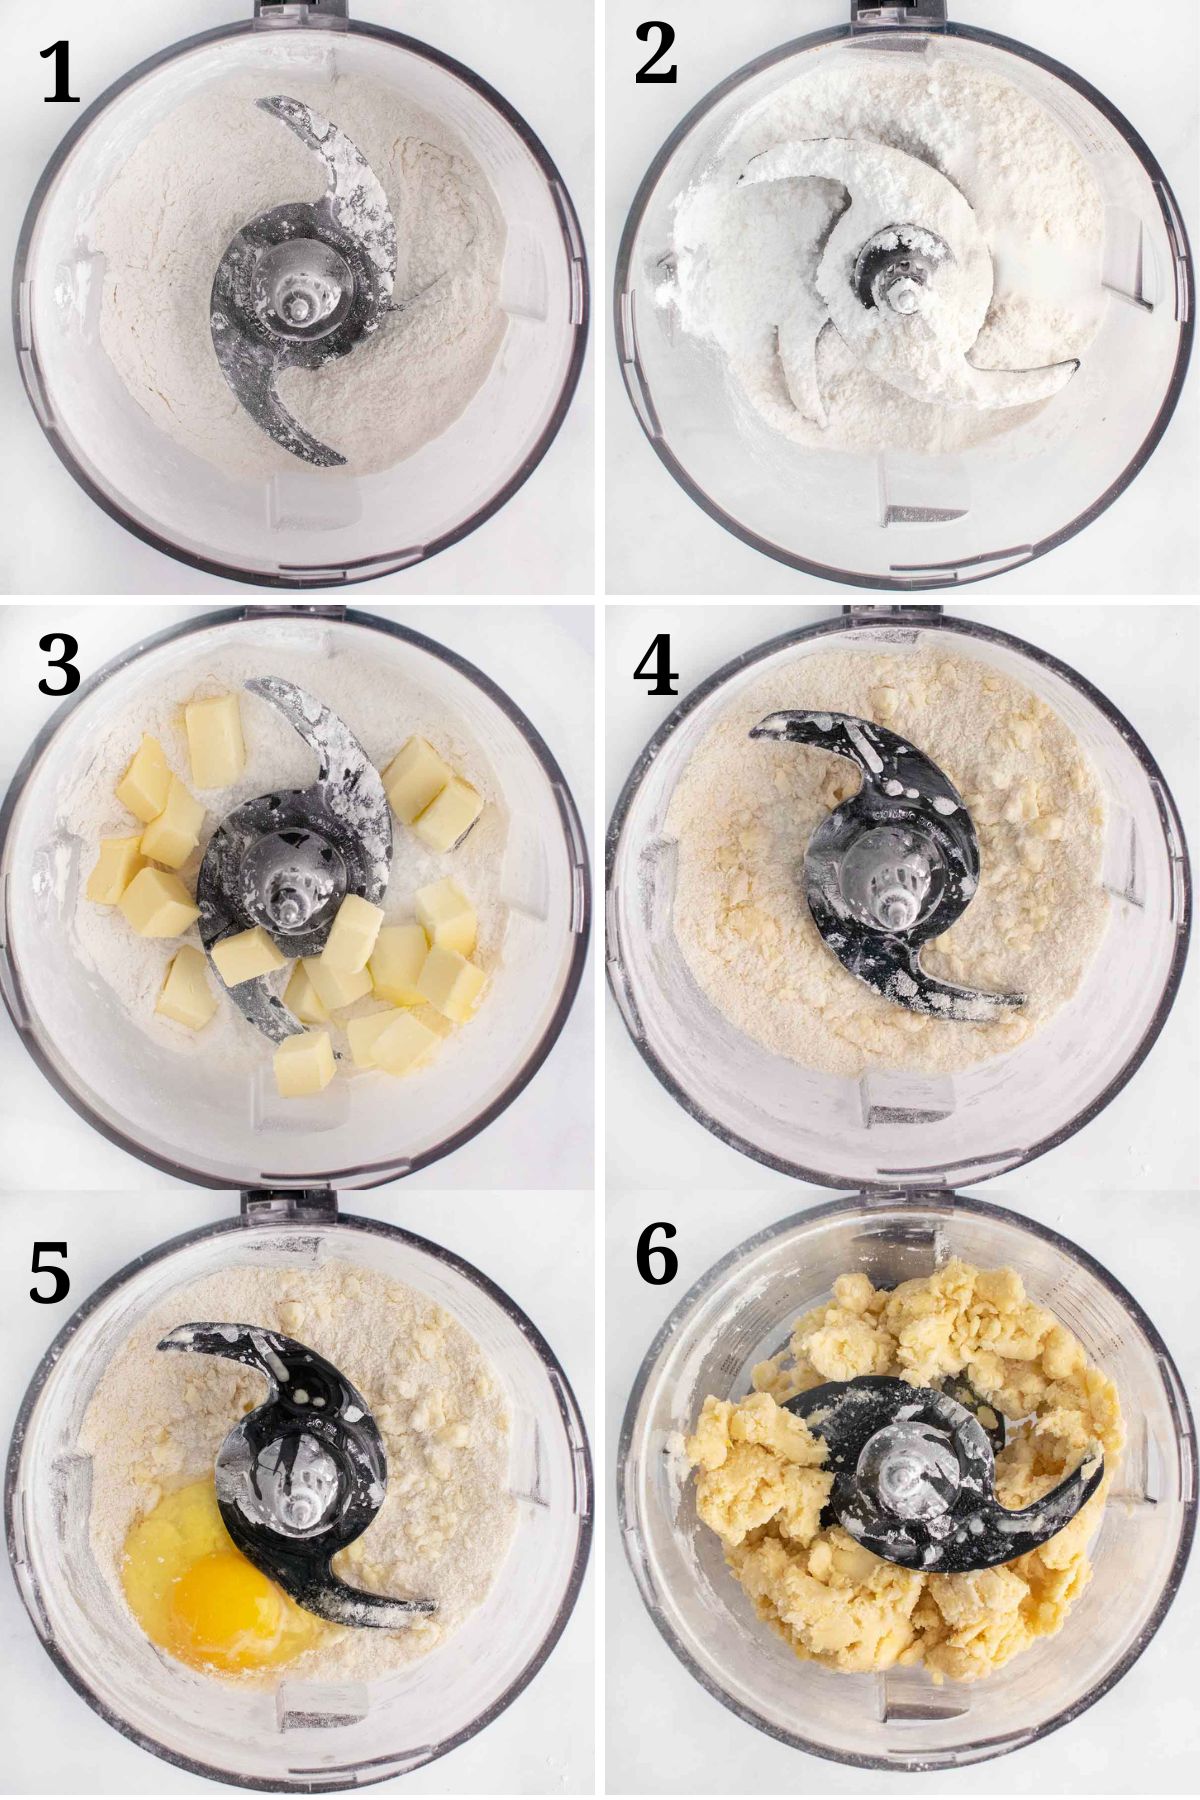
- Add the flour, sugar, and salt to the bowl of a food processor.
- Pulse the mixture for a few seconds until combined.
- Add cold butter to the flour mixture.
- Pulse until mixture becomes crumbly and resembles coarse meal, about 15 pulses. *If you don’t have a food processor, you can do this by using a pastry cutter.
- Add the egg to the mixture.
- Pulse until the dough is no longer dry and starts to clump together for about 10-15 seconds. *Do not process to the point that a large ball of dough is formed; rather the dough should be quite crumbly with large clumps.
Preheat oven to 375F and place rack in the center.
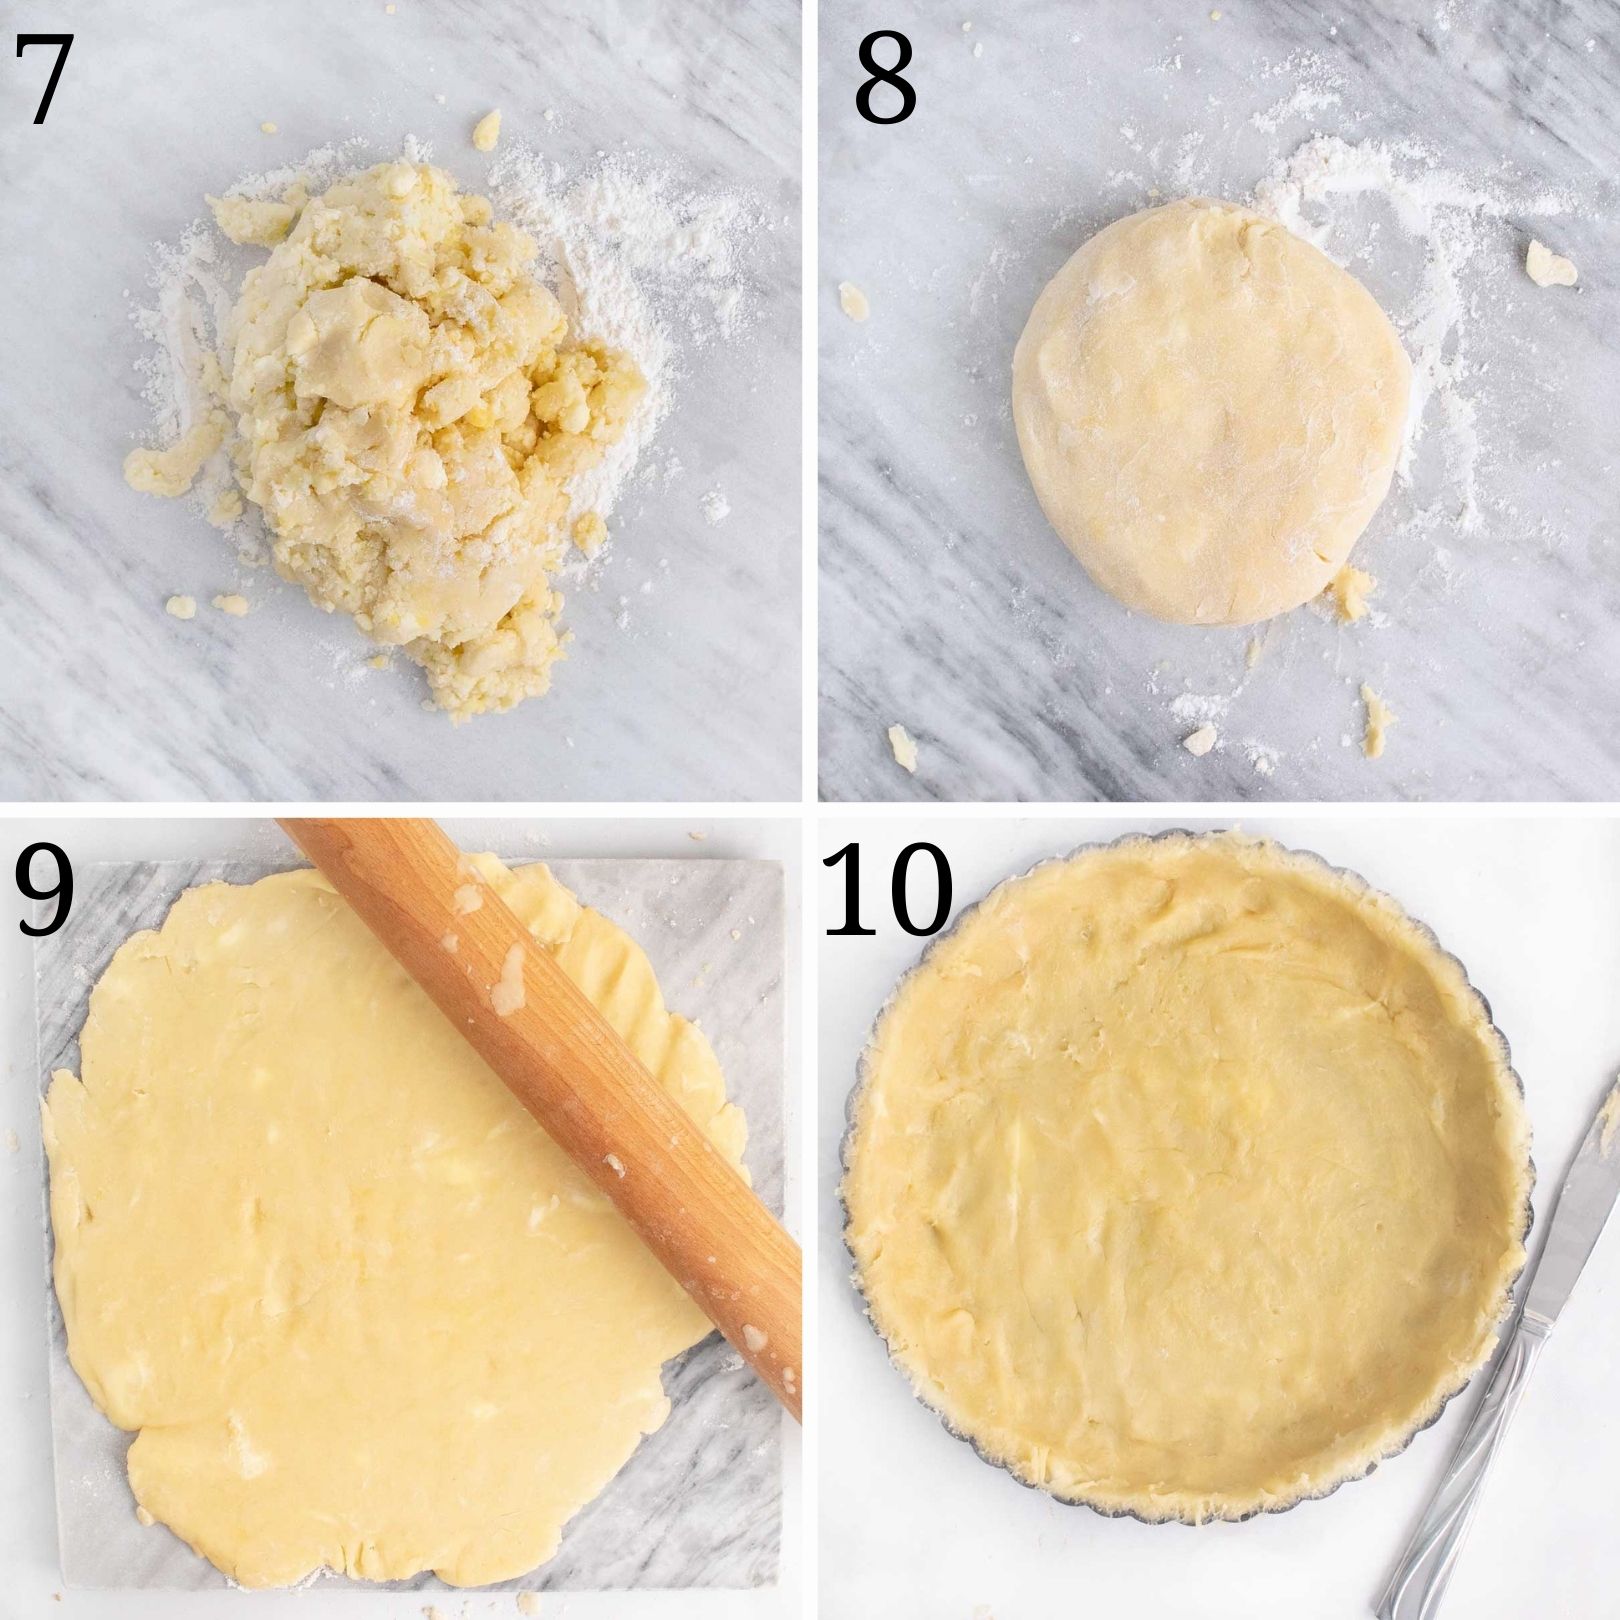
- Turn the dough onto a lightly floured surface and form into a ball. It should come together easily without being sticky.
- Flatten the ball slightly with your hands to form a thick disc. Wrap with plastic wrap and refrigerate for at least 1 hour. *After 1 hour, remove the dough from the fridge and allow it to sit for a few minutes before using.
- On a lightly floured surface, roll the dough out into an 11-inch circle.
- Gently place the dough into a 9-inch tart pan (preferably with a removable bottom) and using a knife, trim the edges of the pastry to fit the tart pan.
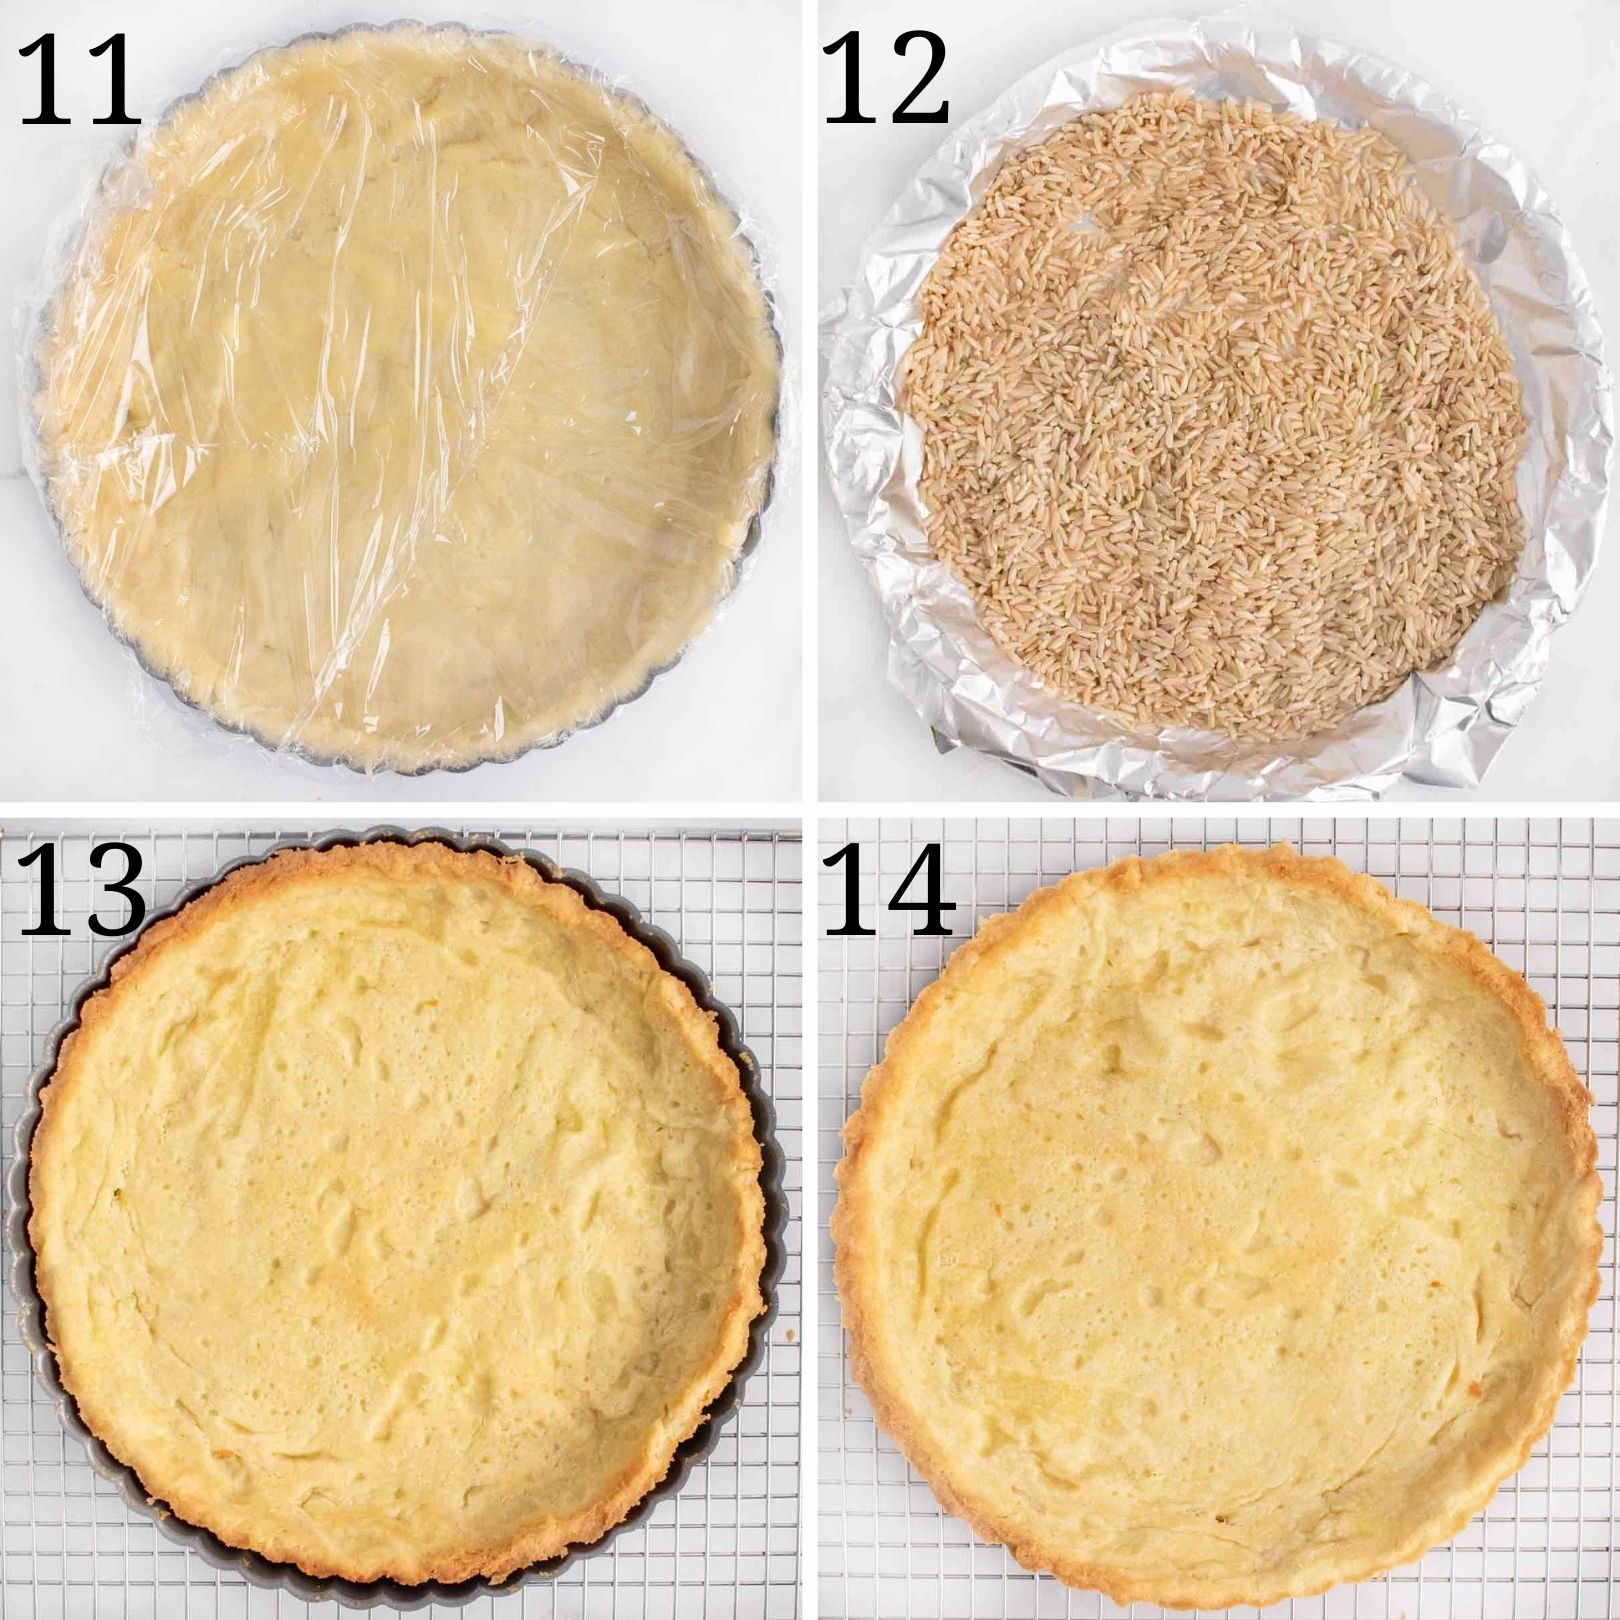
- Cover the pan with plastic wrap and place in the freezer for about 30 minutes. *This will help prevent the dough from shrinking.
- Press parchment paper or aluminum foil tightly against the crust, covering the edges to prevent them from burning. Fill with pie weights, dried beans, or uncooked rice, making sure they’re fully distributed over the entire surface.
- Bake crust for 25-30 minutes, until foil no longer sticks to the dough. Transfer crust to a wire rack and remove weights and foil.
- After cooling, carefully remove the tart crust from the pan. Allow the tart shell to continue cooling on the wire rack.
If you’d rather not make the pie crust, you can always buy the pie dough sheets and just roll it out a bit, or buy the frozen pie crust.
What to go without an oven? Pick up a graham cracker premade pie shell.
How do I make the filling for a No-Bake Peach Tart?
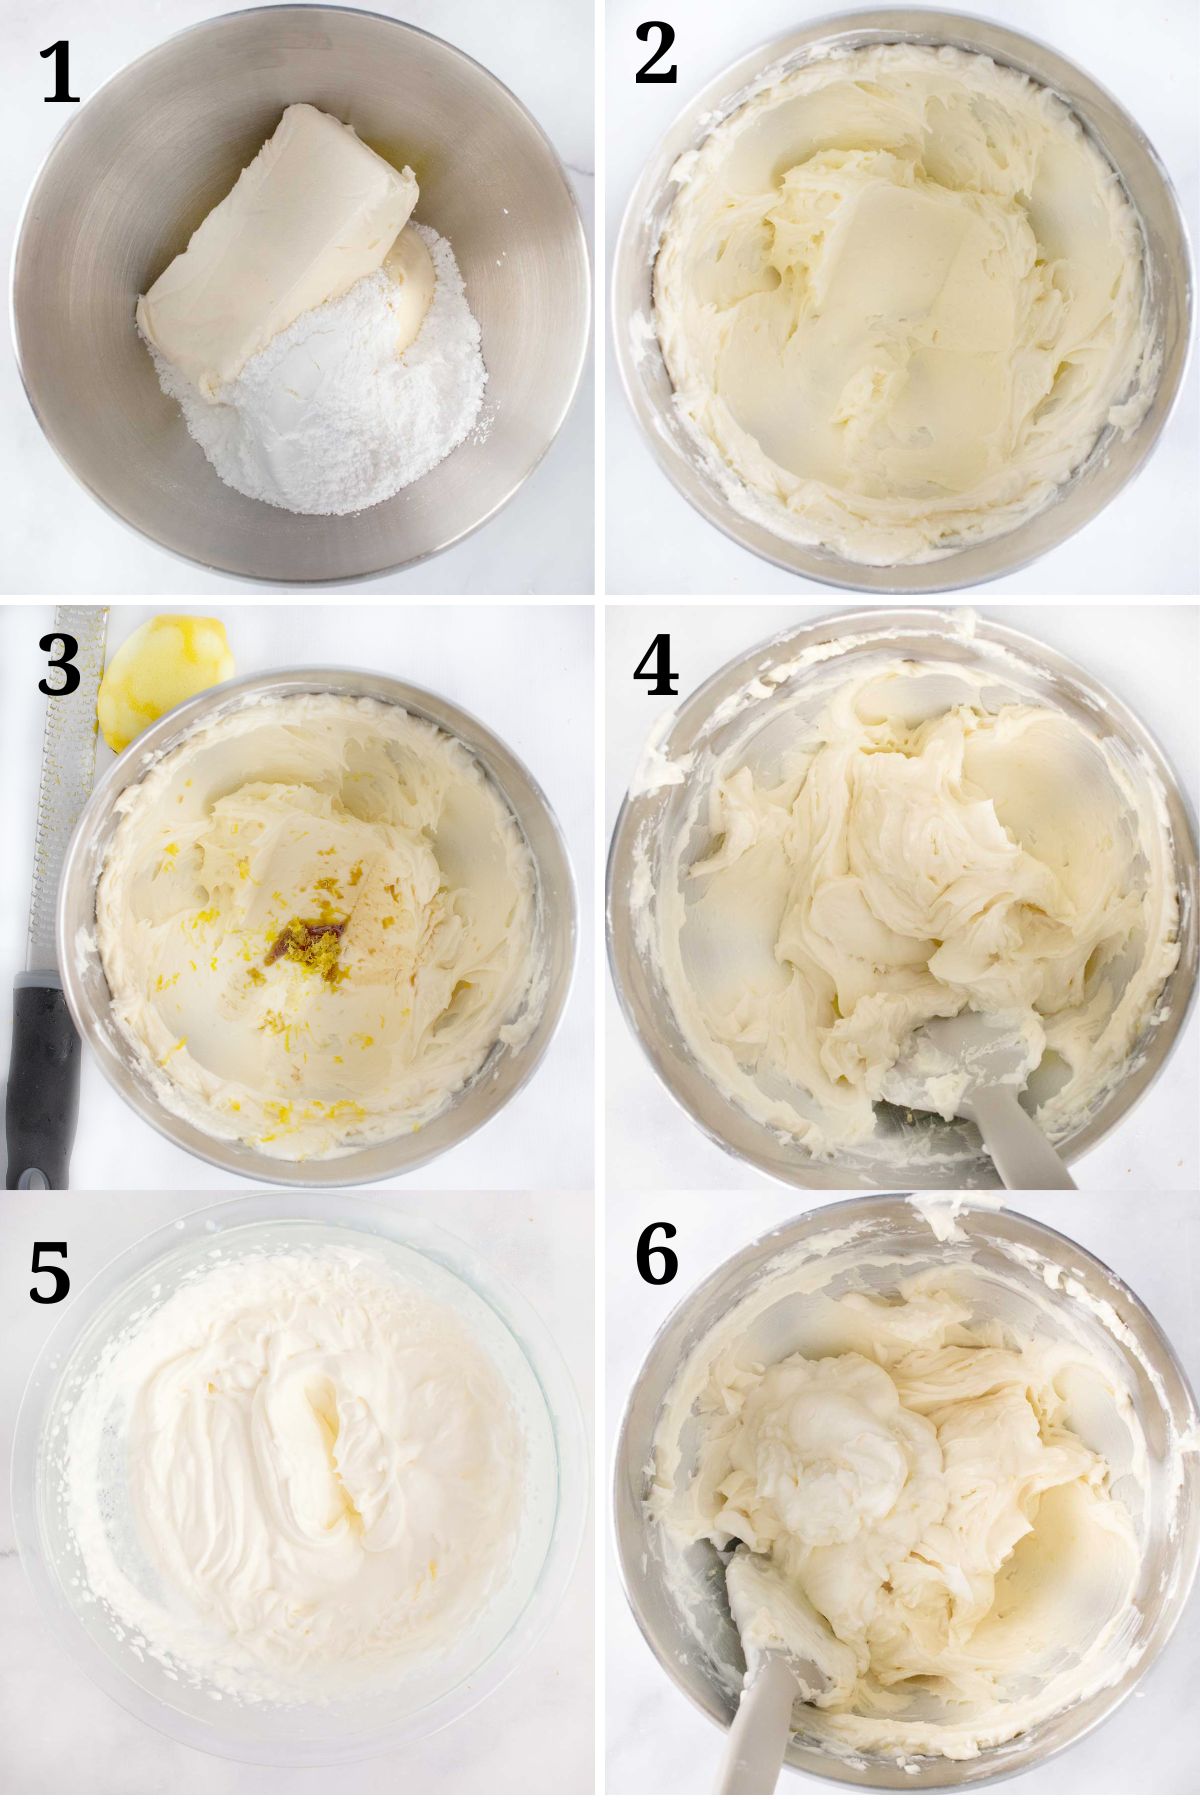
- Add the mascarpone, cream cheese, and confectioners’ sugar to the bowl of a stand mixer.
- blend the ingredients until smooth and creamy.
- Add the lemon zest and vanilla extract to the cream cheese mixture.
- Blend the ingredients until smooth.
- In another bowl, whip the heavy cream until soft peaks appear.
- Gently fold the whipped cream into the mascarpone mixture.
- Mix the cream cheese mixture and whipped cream just until blended.
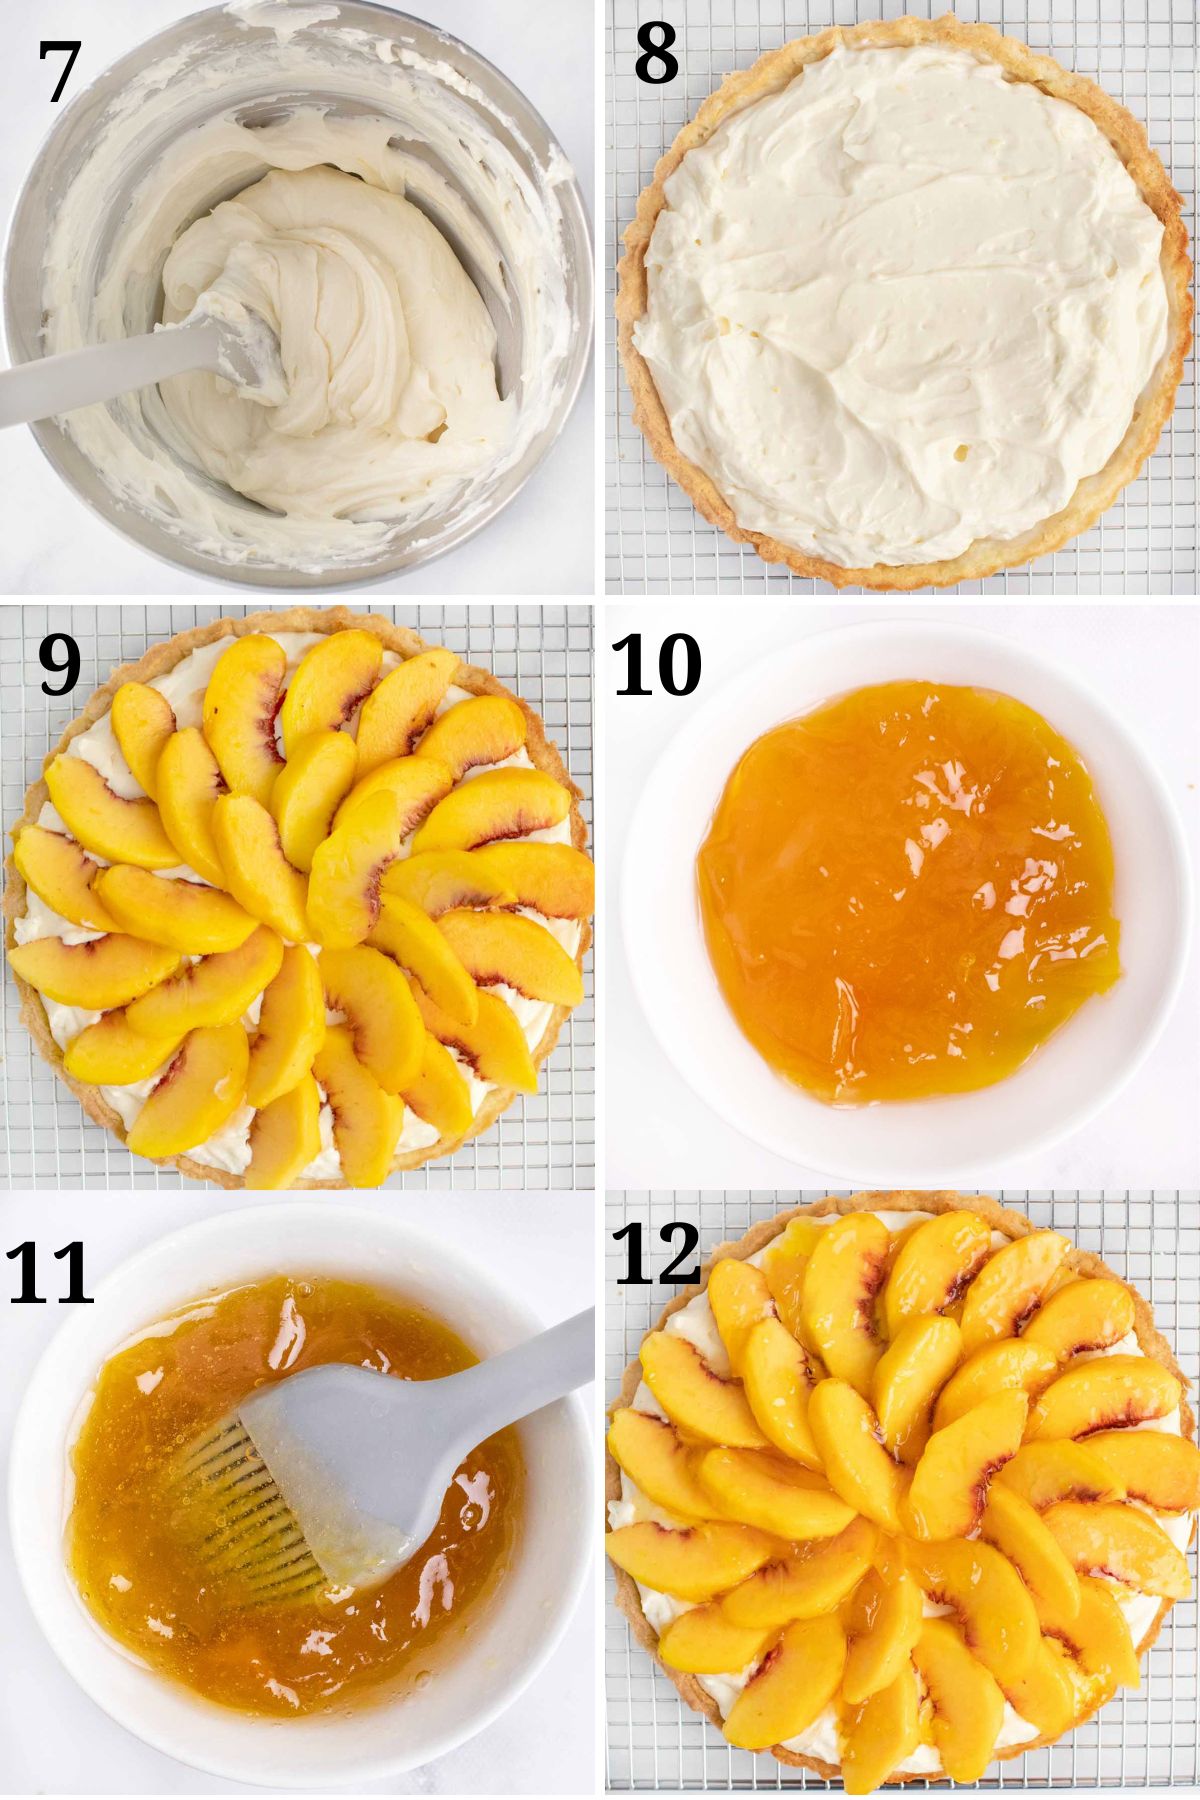
- Spread the mixture into the pie crust.
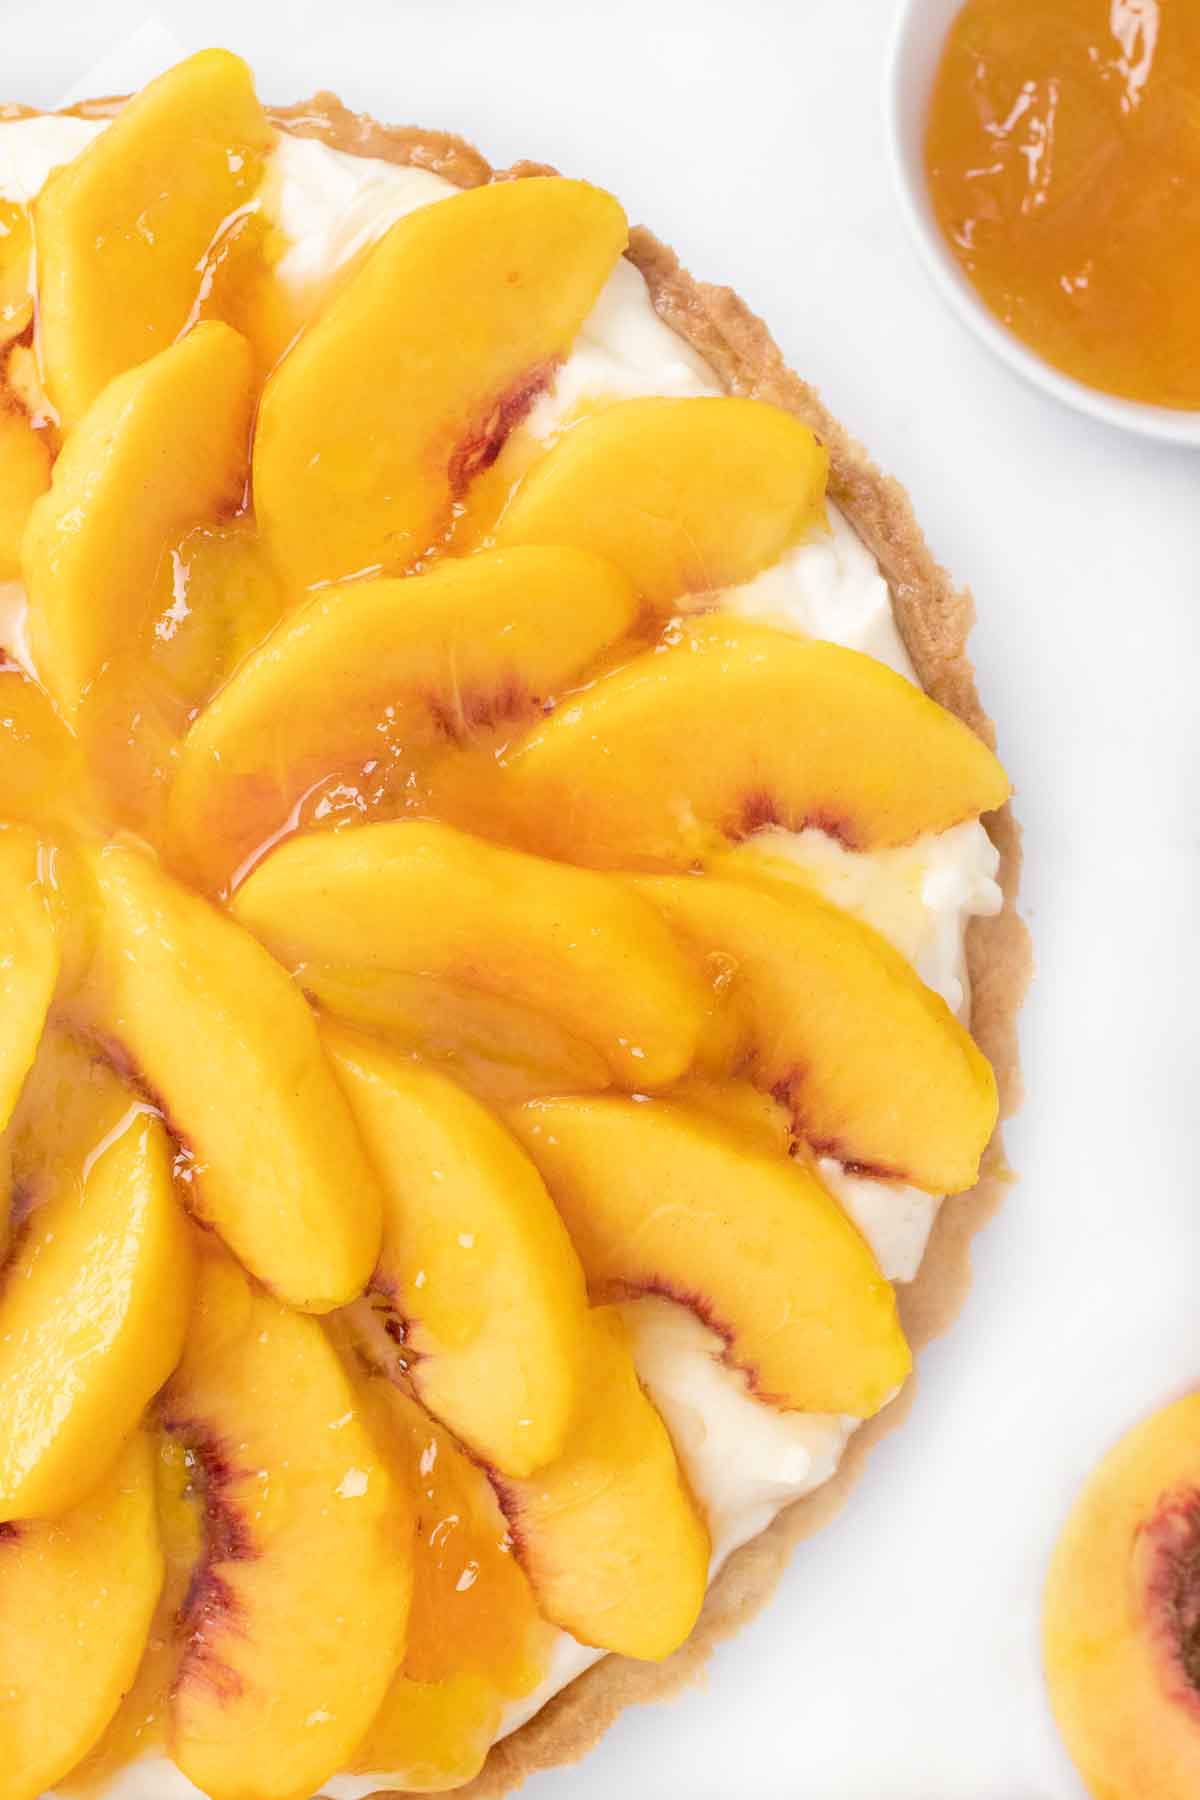
- Top with the peach slices.
- In a small saucepan or microwave bowl heat the peach preserves
- Brush the peaches with the liquefied peach preserves, this will add a nice glaze to the dessert.
- Refrigerate the tart for at least 1 hour or overnight before serving.
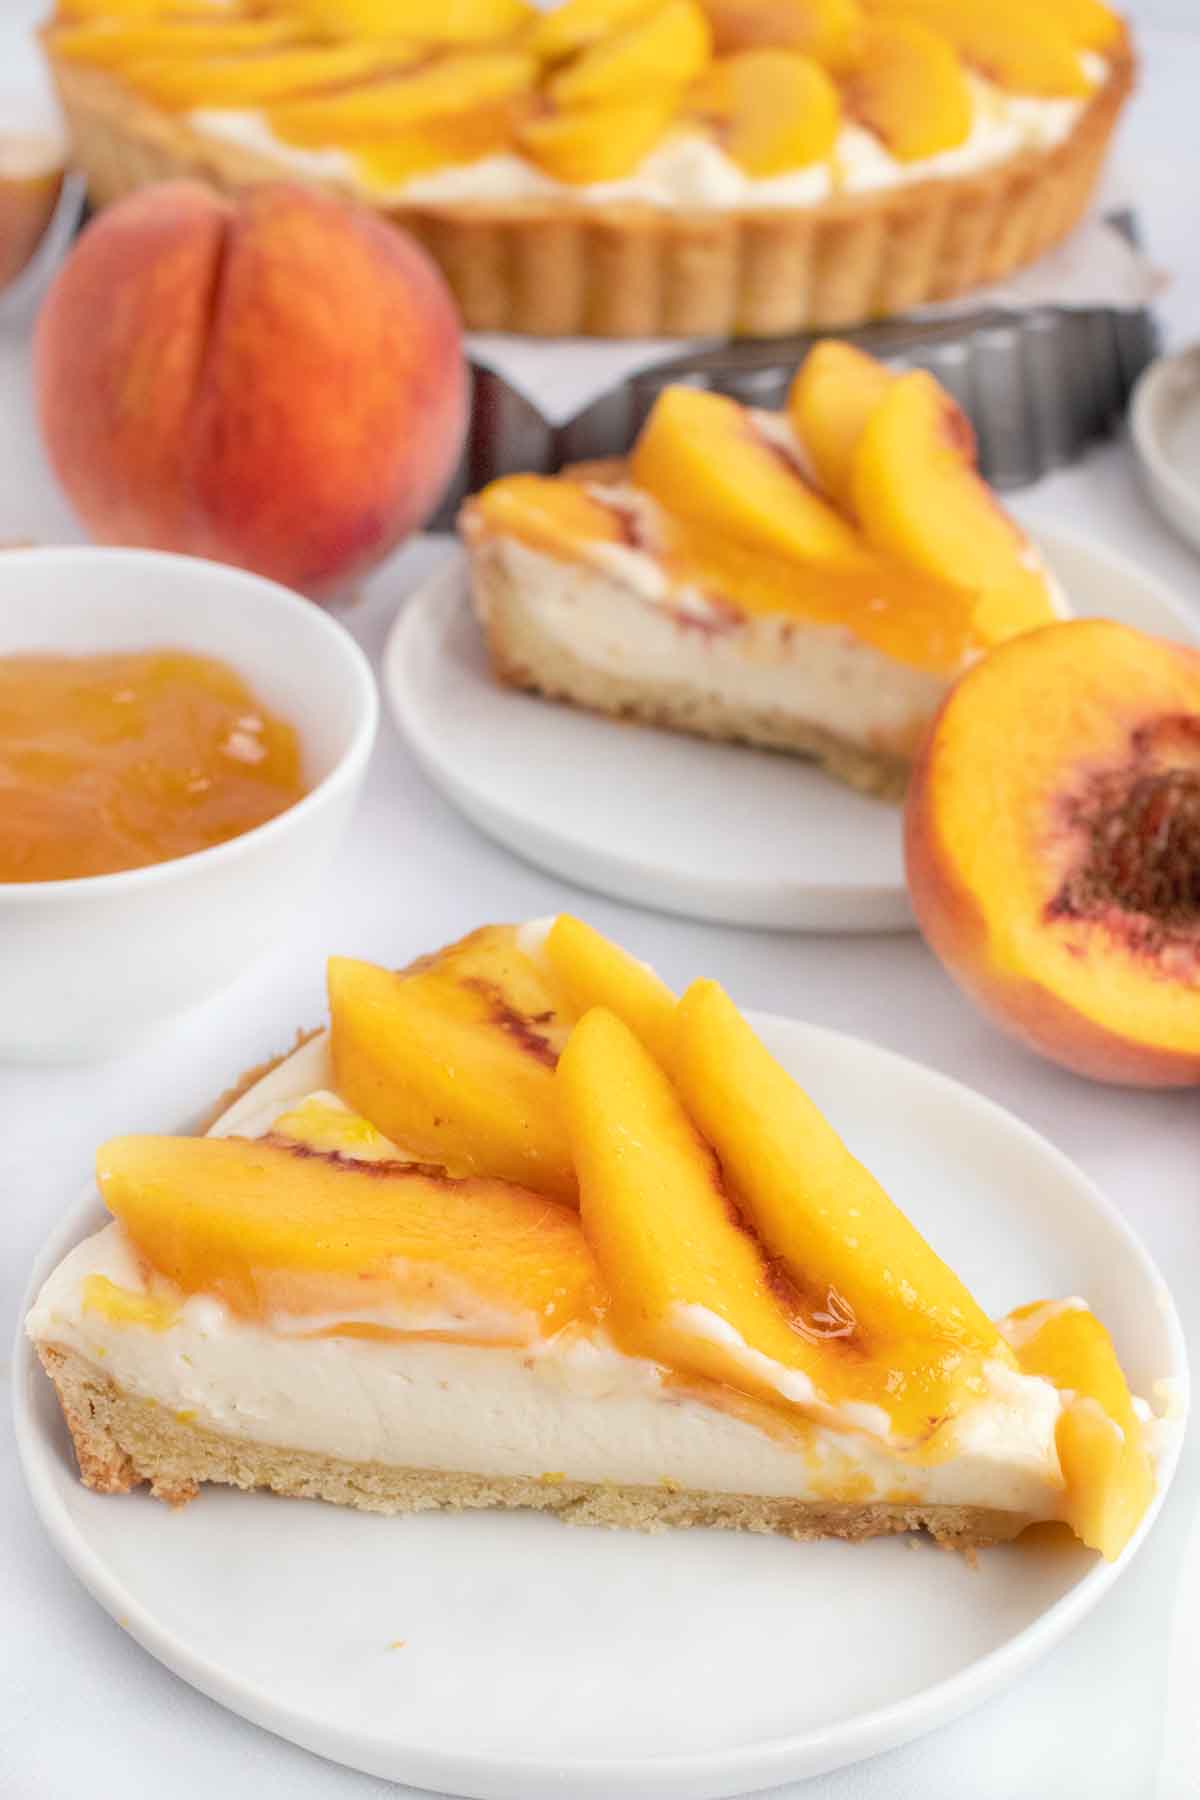
Wouldn’t your friends and family love to sit down to a slice of this creamy peach pie tart? Why not surprise them with this delicious dessert tonite? I promise there’ll be smiles around the table.
Recipe FAQ’s:
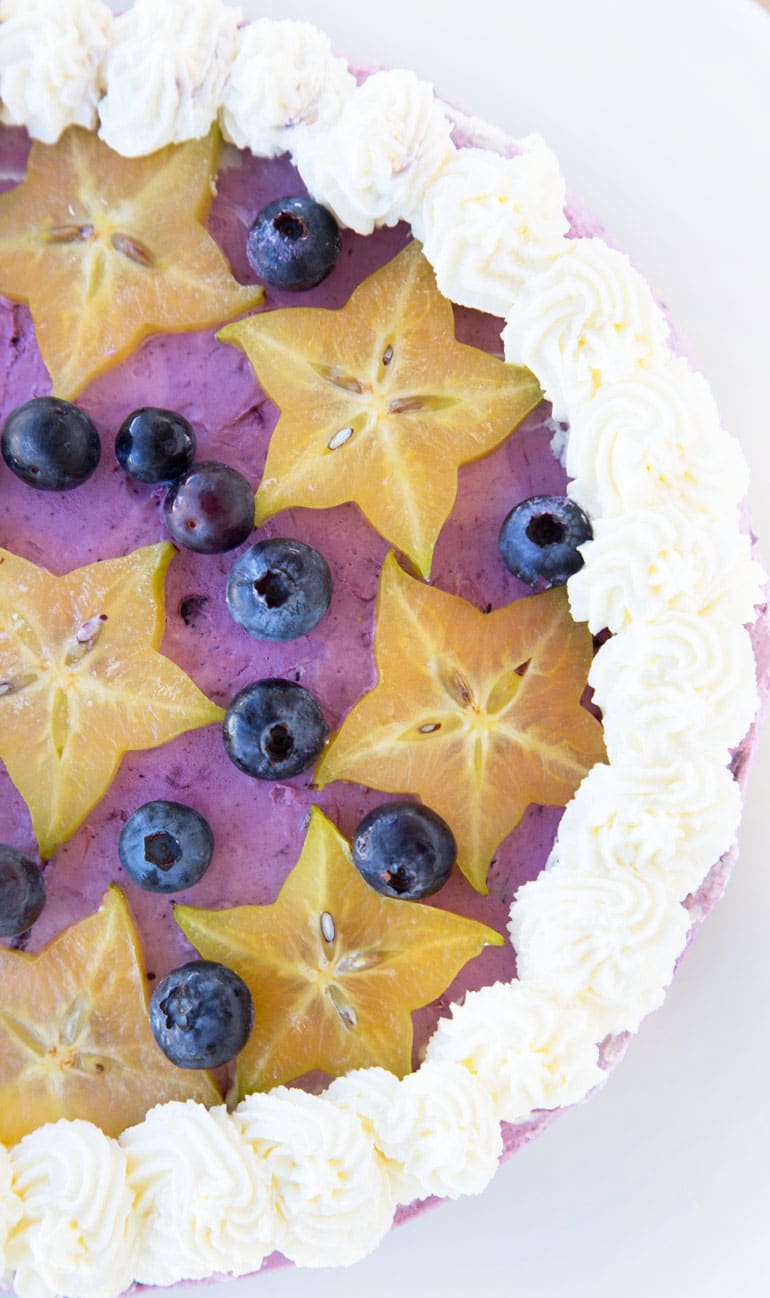
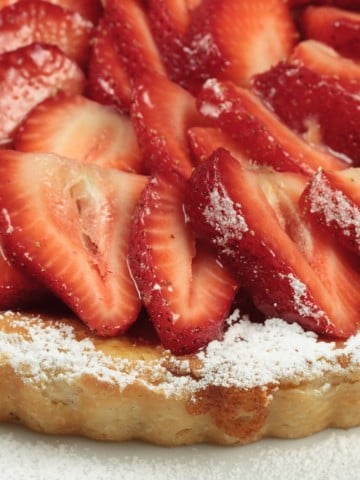
Yes, you can. The cream cheese- mascarpone filling is a great way to showcase your favorite fruits. Try strawberries, blueberries, nectarines and even pineapple. Making a mixed berry tart would also make a beautiful and delicious dessert.
*Remember to use the same flavor jelly as the fruit topping.
You sure can. I like the creamy texture of mascarpone and it doesn’t have the same tang as cream cheese. That lets the flavor of the fruit shine through. But you can most certainly use all cream cheese to make this dessert.
No, you don’t. The glaze is just to make it look prettier and add a little bit of the peach flavor.
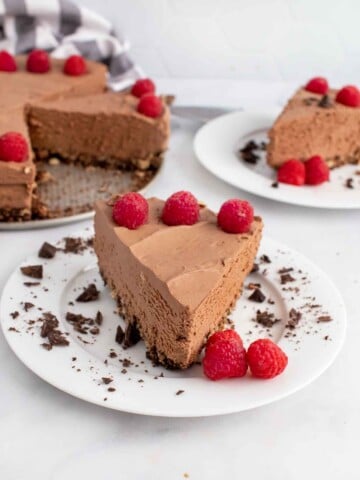
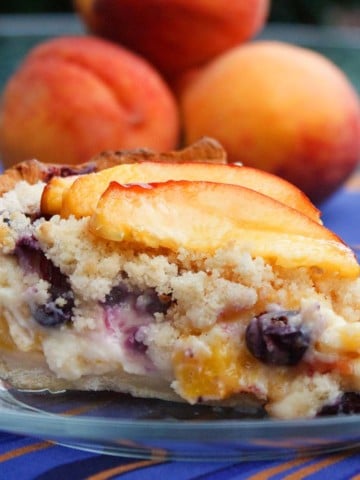
More Recipes You’ll Love!

No Bake Peach Tart
Ingredients
Pie Crust (if you want to bake your own)
- 1 ¼ cups all-purpose flour
- ½ cup powdered sugar (or ¼ cup granulated sugar)
- ¼ teaspoon salt
- 4 ounces cold butter, cut into small cubes (1 stick)
- 1 large egg
Pie Filling
- 8 oz Mascarpone Cheese
- 8 oz Cream Cheese
- ¾ Cup Confectioners Sugar
- ½ cup Heavy Whipping Cream
- 1 teaspoon Vanilla Extract
- Zest of one lemon finely grated
- 6 peaches pitted, peeled and sliced
- ¼ cup Peach Preserves or orange marmalade
Instructions
Pie Crust (if you want to bake your own)
- Add the flour, sugar, and salt to the bowl of a food processor. Pulse the mixture for a few seconds until combined.
- Add the cold butter and pulse until mixture becomes crumbly and resembles coarse meal, about 15 pulses.*If you don’t have a food processor, you can do this by using a pastry cutter
- Add egg and keep pulsing until the dough is no longer dry and starts to clump together for about 10-15 seconds. . *Do not process to the point that a large ball of dough is formed; rather the dough should be quite crumbly with large clumps.
- Turn dough to a lightly floured surface and form into a ball. It should come together easily without being sticky. Flatten the ball slightly with your hands to form a thick disc. Wrap with plastic wrap and refrigerate for at least 1 hour..
- *After 1 hour, remove the dough from the fridge and allow it to sit for a few minutes before using.
- On a lightly floured surface, roll the dough out into an 11-inch circle. Gently place the dough into a 9-inch tart pan (preferably with a removable bottom); you can do this by flouring a rolling pan and rolling the dough loosely around it, then unrolling it into the pan. Brush away any excess flour on the surface. With a sharp knife, trim the edges of the pastry to fit the tart pan. Cover the pan with plastic wrap and place in the freezer for about 30 minutes. This will help prevent the dough from shrinking.
- Preheat oven to 375F and place rack in the center.
- Cover the pan with plastic wrap and place in the freezer for about 30 minutes. *This will help prevent the dough from shrinking
- Press parchment paper or aluminum foil tightly against the crust, covering the edges to prevent them from burning. Fill with pie weights, dried beans, or uncooked rice, making sure they’re fully distributed over the entire surface
- Bake crust for 25-30 minutes, until foil no longer sticks to the dough. Transfer crust to a wire rack and remove weights and foil.
- After cooling, carefully remove the tart crust from the pan. Allow the tart shell to continue cooling on the wire rack.
Pie Filling
- Add the mascarpone, cream cheese, and confectioners’ sugar to the bowl of a stand mixer. Blend the ingredients until smooth and creamy.
- Add the lemon zest and vanilla extract to the cream cheese mixture. Blend the ingredients until smooth.I
- n another bowl, whip the heavy cream until soft peaks appear, then gently fold the whipped cream into the mascarpone mixture.Mix the cream cheese mixture and whipped cream just until blended.
- Spread the cream cheese mixture into the pie crust.
- Top with the peach slices.
- In a small saucepan or microwave bowl heat the peach preserves. Brush the peaches with the liquefied peach preserves, this will add a nice glaze to the dessert.
- Refrigerate the tart at least 1 hour or overnight before serving.
Anne says
Cannot wait to make this! Are the 6 peaches large or medium? Or can you share the weight measurement? Thank you!!
Chef Dennis Littley says
they were medium peaches. I would start with 4 and see how much of the pie they cover. You can always cut one or two more if needed.
Anne says
Thank you so much!
Ingrid says
Love this recipe ! It is so easy to make and great when a dessert is needed quickly. I modified it to include fruits in season peaches, kiwi, strawberries and blueberries. Give it time to set and chill. Love your recipes Chef Dennis.Tiramisu Recipe is THE BEST!
dhamashreya15 says
Step by step explanation is great !! explained the recipe using simplest possible words and I loved it.
Thank you for all of the work you put into your recipes, and all of the wonderful things that happen behind the scenes that help you help us 🙂
rosemary merirll says
thank you……
rosemary merirll says
I want to make your NO BAKE PEACH TART BUT…,,,,,not with a store bought crust. Where can I find the recipe for the tart shell that you show in the picture????
Thank you!!
Chef Dennis Littley says
I just added the pie crust recipe to the post.
Sandy Romeo says
I made this tart several years ago and remember how delicious it was. I unfortunately lost the recipe but thanks to google, found it again. The only thing missing, however, is the recipe for the tart crust. This version says to use a premade graham cracker crust :(. Any chance of getting the recipe for the crust?
Chef Dennis Littley says
hi Sandy
you can find my graham cracker crust recipe here https://www.askchefdennis.com/blueberry-cream-pie/
LAUREN DILLON says
THAT PEACH TARTE IS A ONE WAY TICKET STRAIGHT TO HEAVEN .
Bethanny Parker says
It’s too bad the dough needs to be baked. There is a reason I searched for “no bake.” My oven is not working.
Chef Dennis Littley says
you can always buy a premade graham pie shell Bethanny!
sweetashoney.co.nz says
It looks yum. Do you have a gluten free suggestion ? Which flour could I use for this unbaked crust?
Chef Dennis says
I would just try a gluten free graham cracker crust.
Renee Barrett says
Wow… I had been complaining that the really good big Ga. peaches had not come to us in Fl. yet, and well they arrived this week… will be abundant until late Aug. – So today I made this No Bake tart… I will serve tonight after dinner!! I know it will be wonderful!
Kath says
Beautiful, Dennis! We have about another month before our fabulous local peaches are in the market. I’ll have to save your recipe for then. 🙂
Cheryl and Adam says
How can anyone resist this tart? And the photos edible, too! Chef, I’ve sent you 4 emails to the address I had for you and they’ve all been bounced back, can you shoot me an email with your email, I’ve been hoping to catch up, it’s been too long!
JC Marc says
This is a fantastic recipe. I made these in a miniature form using my own peach, blackberry and strawberry preserves. Crazy as it sounds, I also made some mini tarts with my home grown fresh tomatoes, cutting way back on the sugar. I know it sounds weird, but they were delicious. I tried your crust instead of my old favorite. They were all incredibly delicious and very easy to make. My guests loved them! Thank you for another great recipe.
Chef D says
I’m so glad that you liked them! The tomato ones sound delicious!
Kate Jessup says
Can this be made ahead and frozen? I have like 30 fresh peaches and would love to enjoy this in the future!
Chef Dennis Littley says
Yes it freezes well.
Dawnie says
This looks fantastic! I am excited to try it! Thanks for sharing