
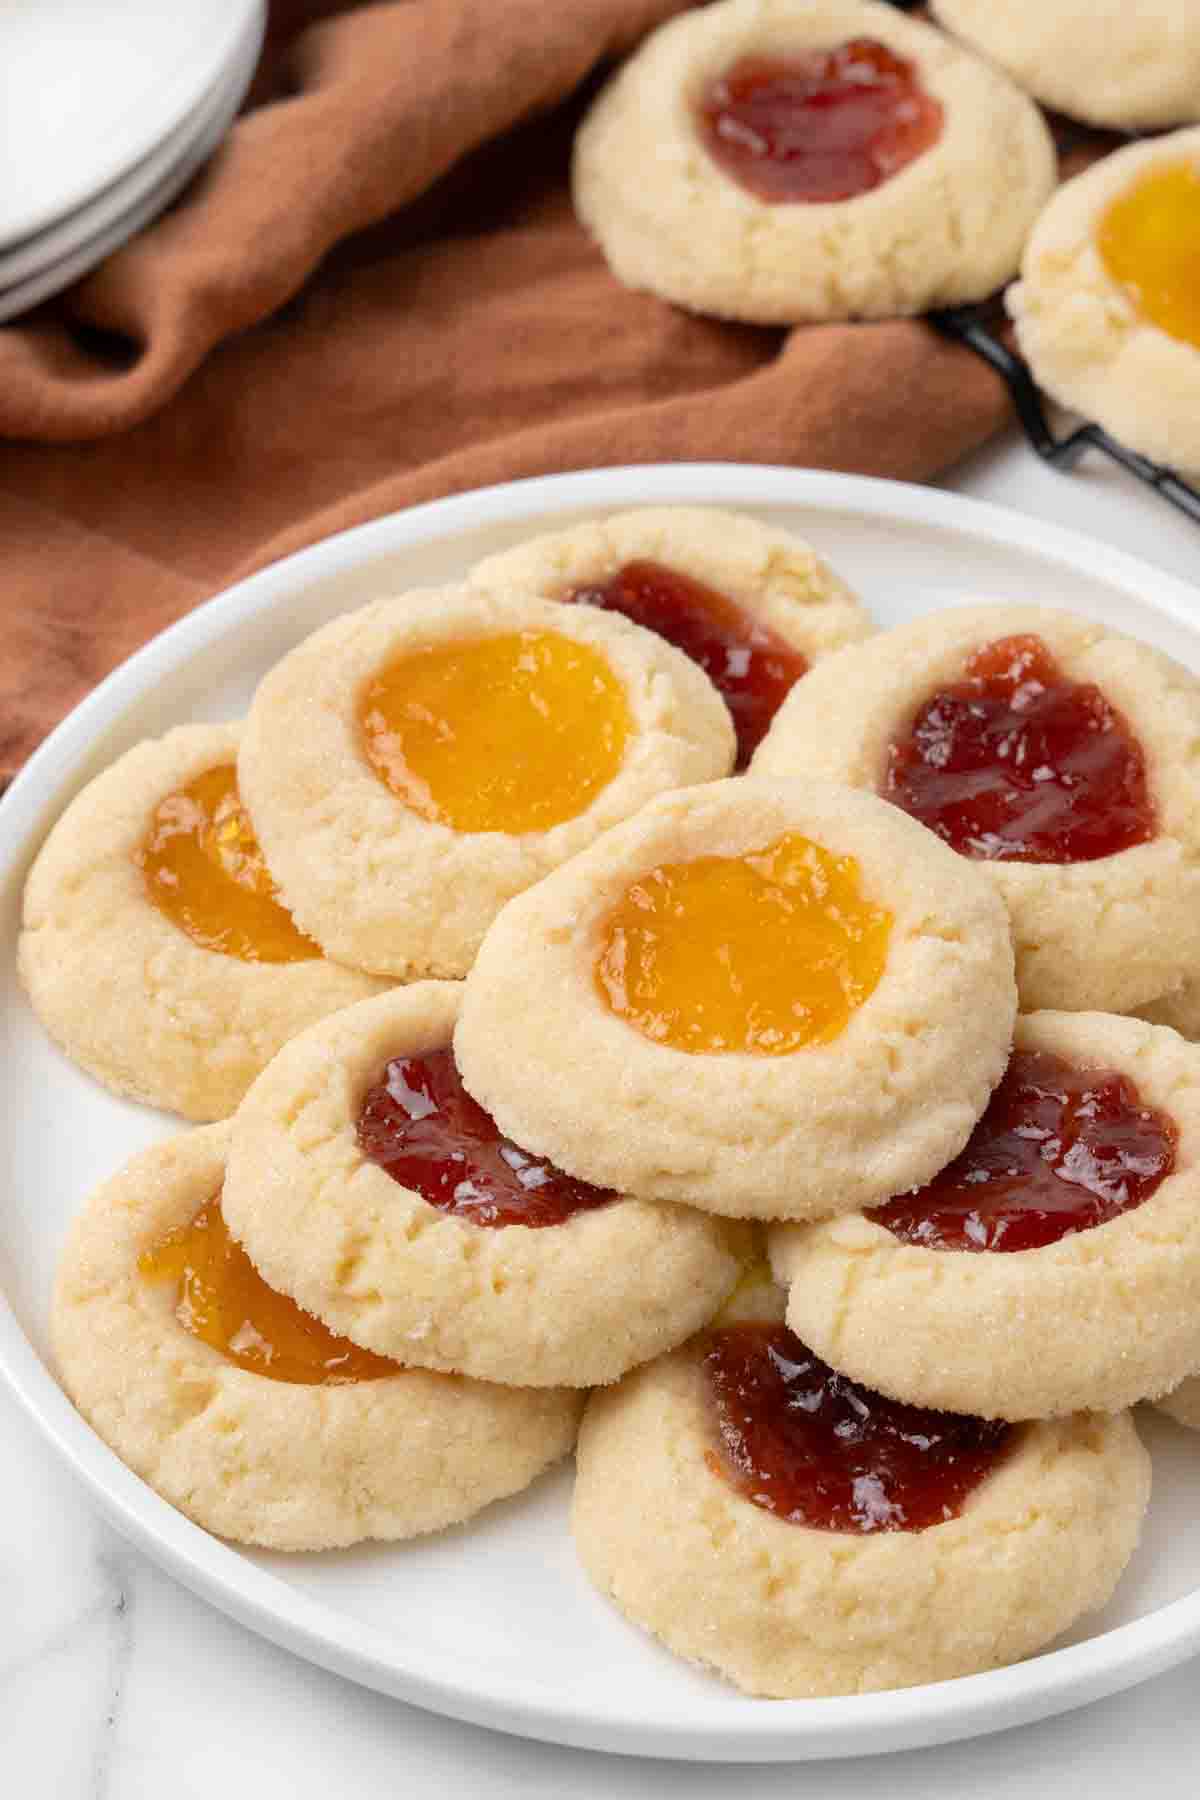
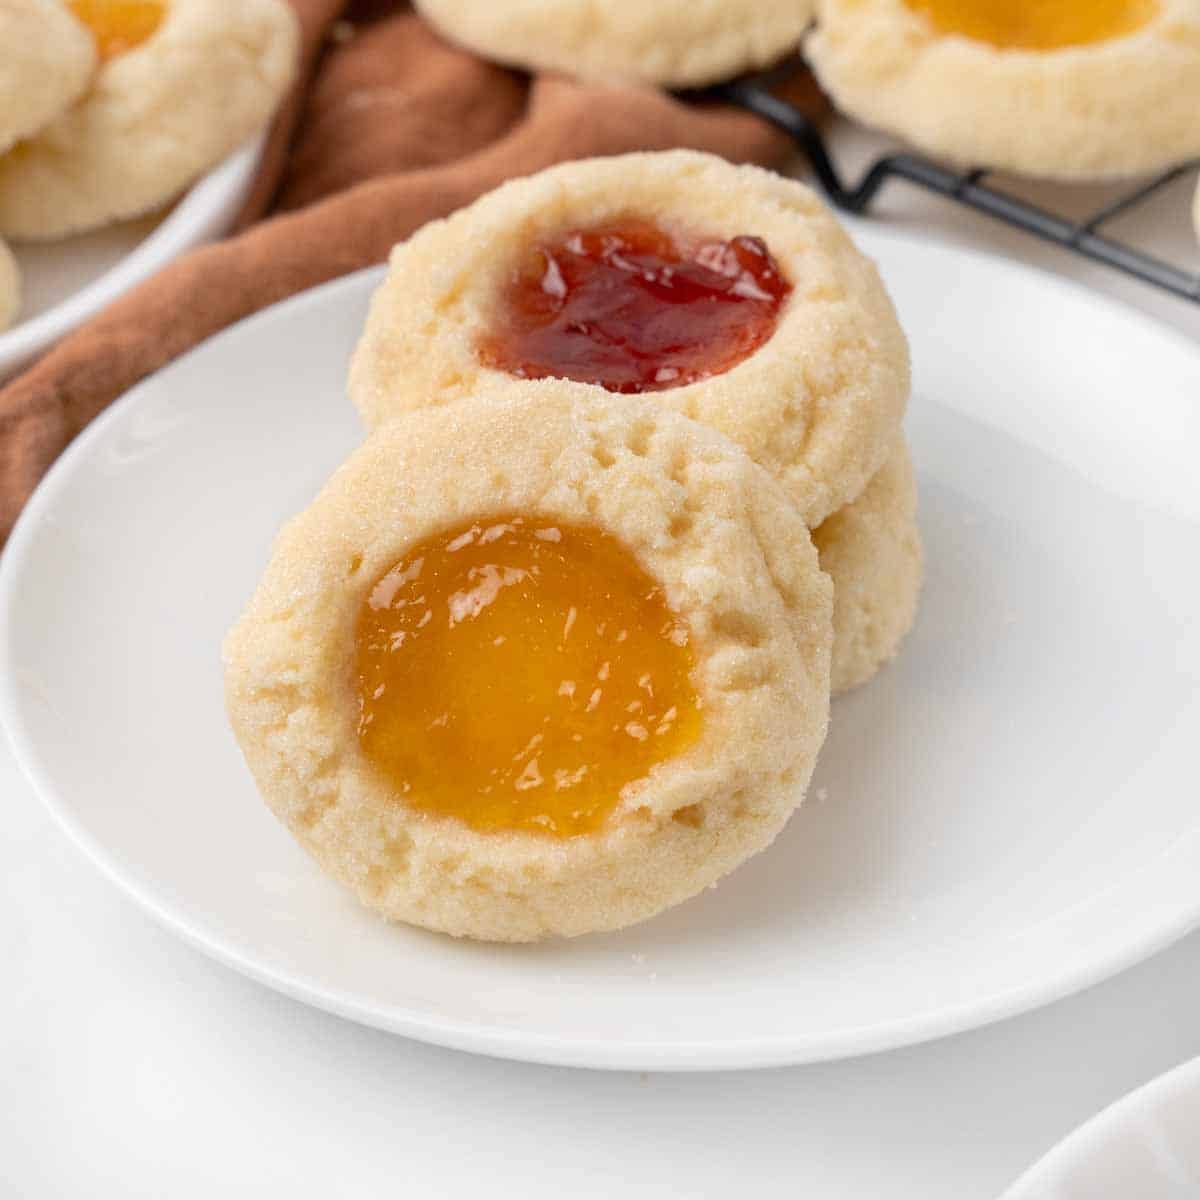
Soft, buttery, and filled with fruity jam, our Thumbprint Cookies are the melt-in-your-mouth kind you’ll want on every holiday tray. They’re easy to make, kid-approved, and use simple ingredients you’ve probably already got in the pantry.
Don’t be surprised if you catch yourself “taste testing” more than a couple!
WANT TO SAVE THIS RECIPE?
Audio Player
Jam Thumbprint Cookies originated in Sweden, where they were known as hallongrotta, or “raspberry caves.” Somewhere along the way, they ended up in American kitchens and have been holiday regulars ever since.
I’ve been baking these for over 40 years, and they still evoke the same cozy feeling, with an enticing aroma that brings warm memories of the first time I made these buttery cookies.
They’re soft and buttery with a gentle crumble, and that little pocket of jam gives you just the right pop of sweetness.
It’s the kind of recipe I love sharing when cookie season starts calling!

They’re quick and easy to make, but they come out looking like you spent all day baking.
You can also swap the jam flavors to match the season, your mood, or any half-used jar you have in the fridge.
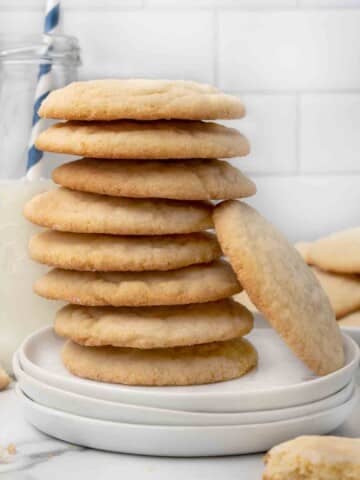
If you love that soft, melt-in-your-mouth snap, our Traditional Scottish Shortbread is rich, crumbly, and full of buttery flavor.
For something a little different, our Italian Pistachio Cornmeal Butter Cookies bring a subtle crunch with a rich, nutty flavor.
Ingredients

Gather the ingredients to prepare our Thumbprint Cookies recipe. Culinary professionals call this the “Mise en Place,” which means “everything in its Place.”
Setting up your ingredients not only helps speed up the cooking process but also ensures you have all the necessary ingredients on hand to make the recipe.
Can I Make Adjustments to the Recipe?
Absolutely. We made our Thumbprint Cookies with our Homemade Peach Jam and Strawberry Jam recipes. You can also try using our Raspberry Jam, Blueberry Jam, Blackberry Jam, or finish them off with a spoonful of our Fig Jam for some cozy holiday snacking.
If you’re not a fan of jam, you can also use Nutella, caramel, apple butter, or even Lotus Biscoff spread. Anything smooth and sweet that’ll hold its shape in the oven.
You can also roll the dough balls in cinnamon sugar instead of plain sugar for a warm, spiced edge that works with fruit or chocolate.
For a deeper and richer chocolaty flavor, mix 1 to 2 tablespoons of cocoa powder into the dough for a chocolate shortbread base. Just make sure to pick a filling to complement the chocolate flavor!
Recipe Variations
- Chocolate Thumbprint Cookies: Leave the indent empty and fill it with chocolate ganache when they’re done baking.
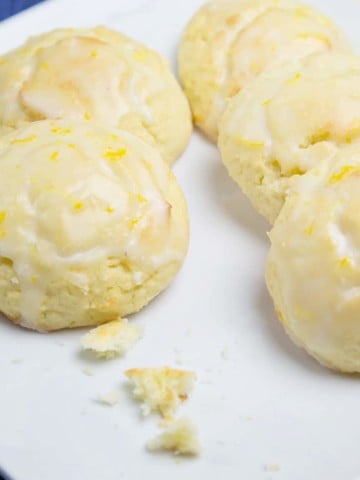
- Lemon Thumbprint Cookies: Fill the cookies with lemon curd
- Roll dough balls in finely chopped nuts before baking.
- Drizzle baked cookies with white or dark chocolate.
How to make Thumbprint cookies
Follow along with my simple step-by-step instructions to learn how to make thumbprint cookies in your home kitchen.
- Preheat the oven to 350°F
- Line two large baking sheets with parchment paper and set aside until needed.
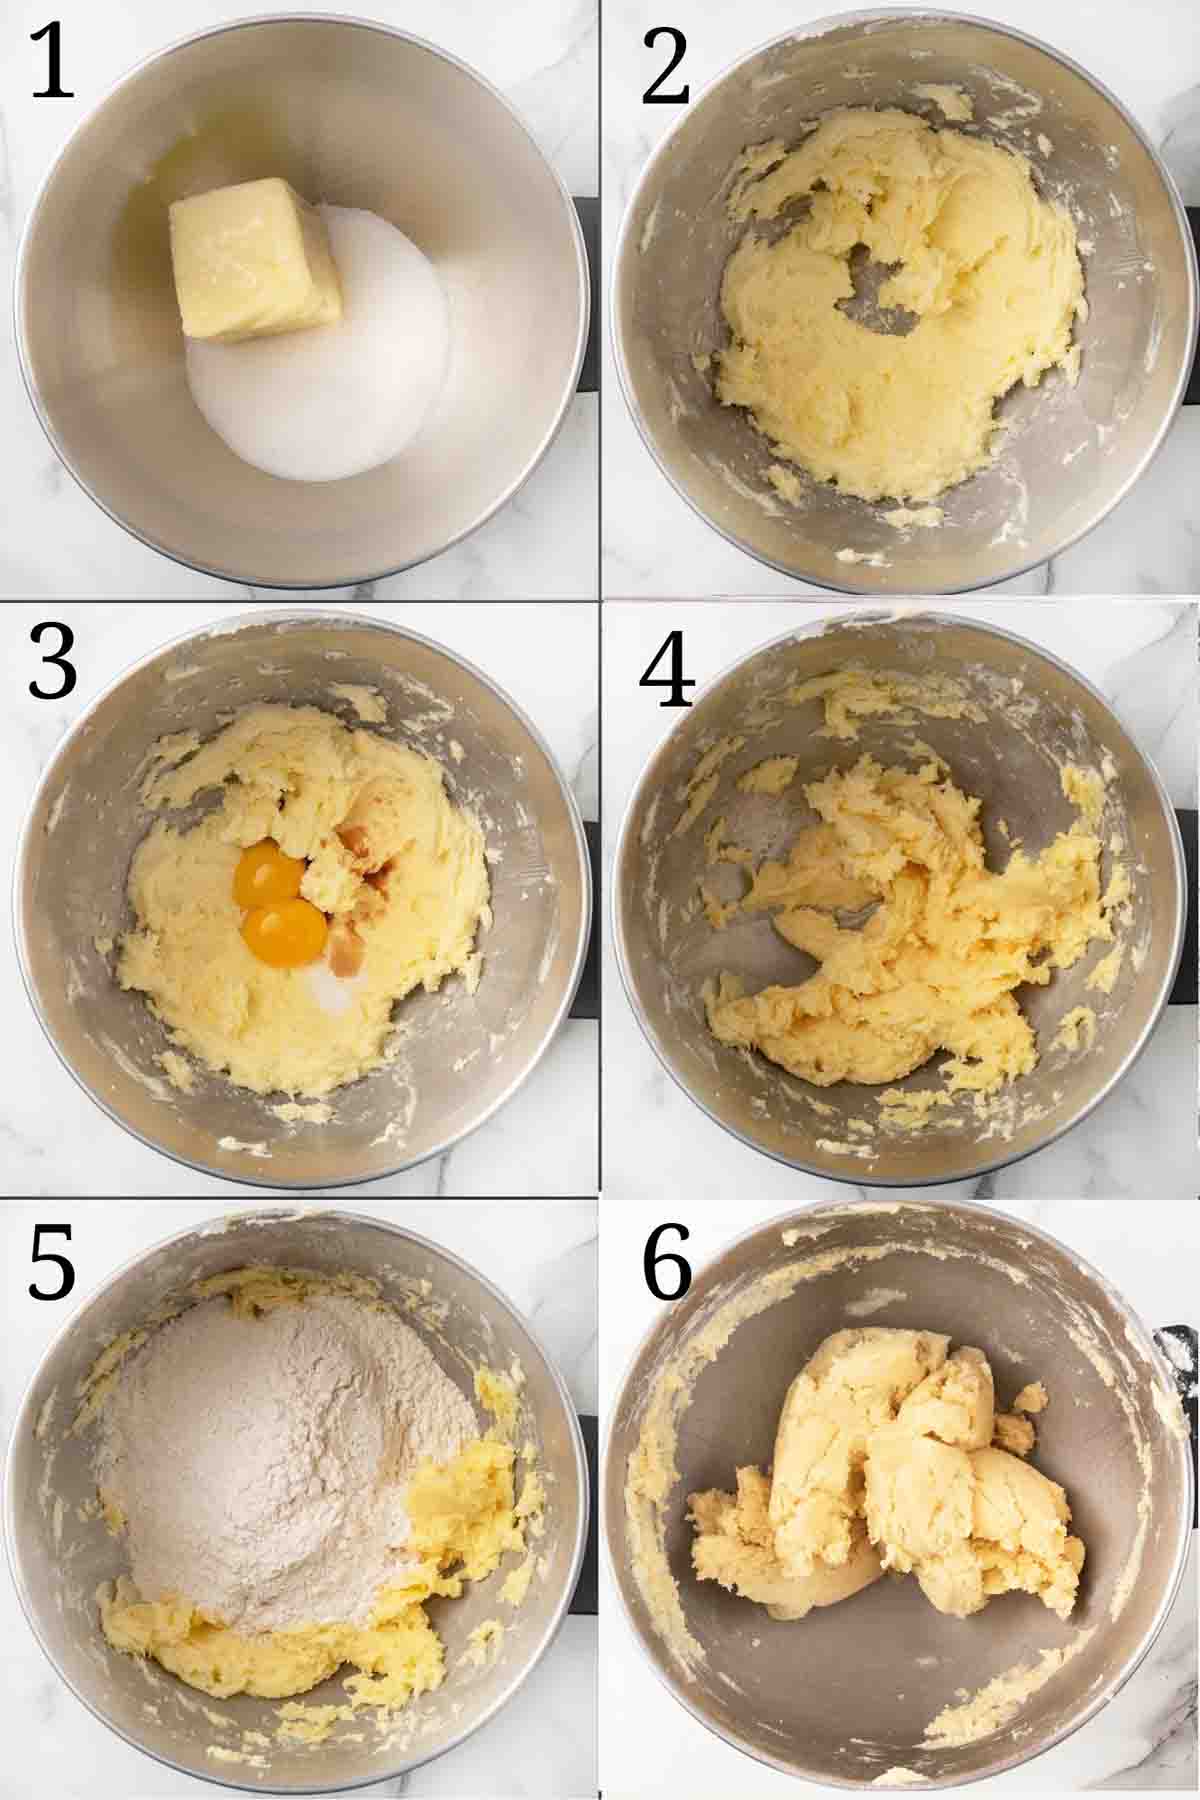
- Add the softened butter and sugar to the bowl of a stand mixer fitted with the paddle attachment (or a large mixing bowl and an electric mixer).
- Whip the butter and sugar for 1-2 minutes at medium speed, until creamy and well combined.
- Add the egg yolks, vanilla extract, and table salt to the bowl.
- Whip until thoroughly combined,
- Add the flour to the bowl.
- Mix slowly until a dough forms.
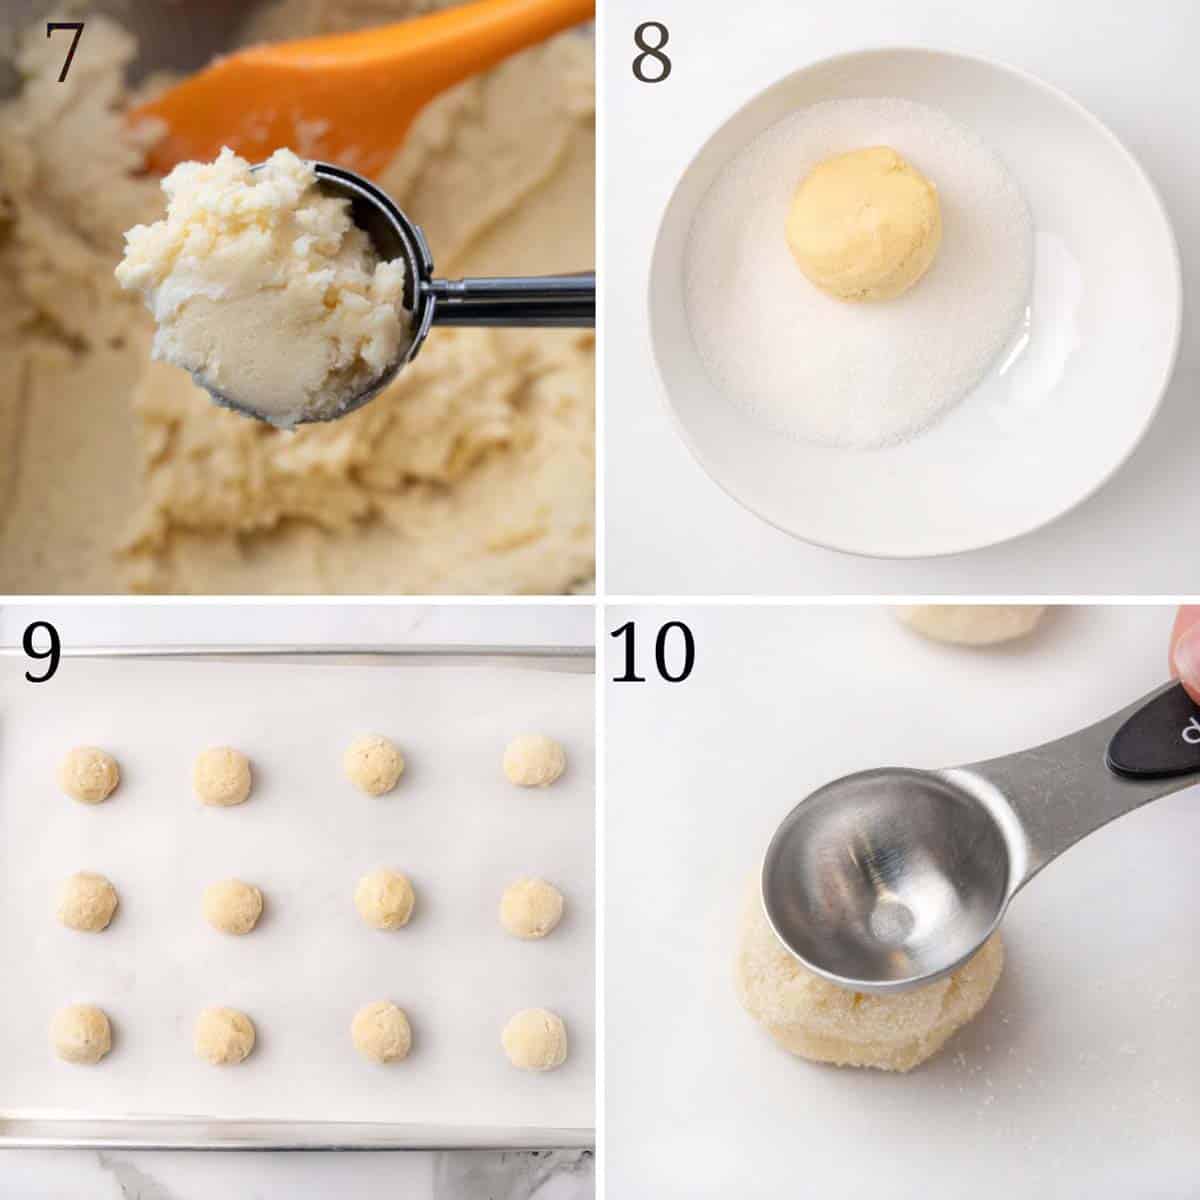
- Using a one-tablespoon cookie scoop, portion the dough and roll into balls.
- Roll the balls in granulated sugar.
- Place the cookies on the prepared cookie sheets.
- Use your thumb (or a large spoon) to press an indentation into the center of each cookie dough ball.
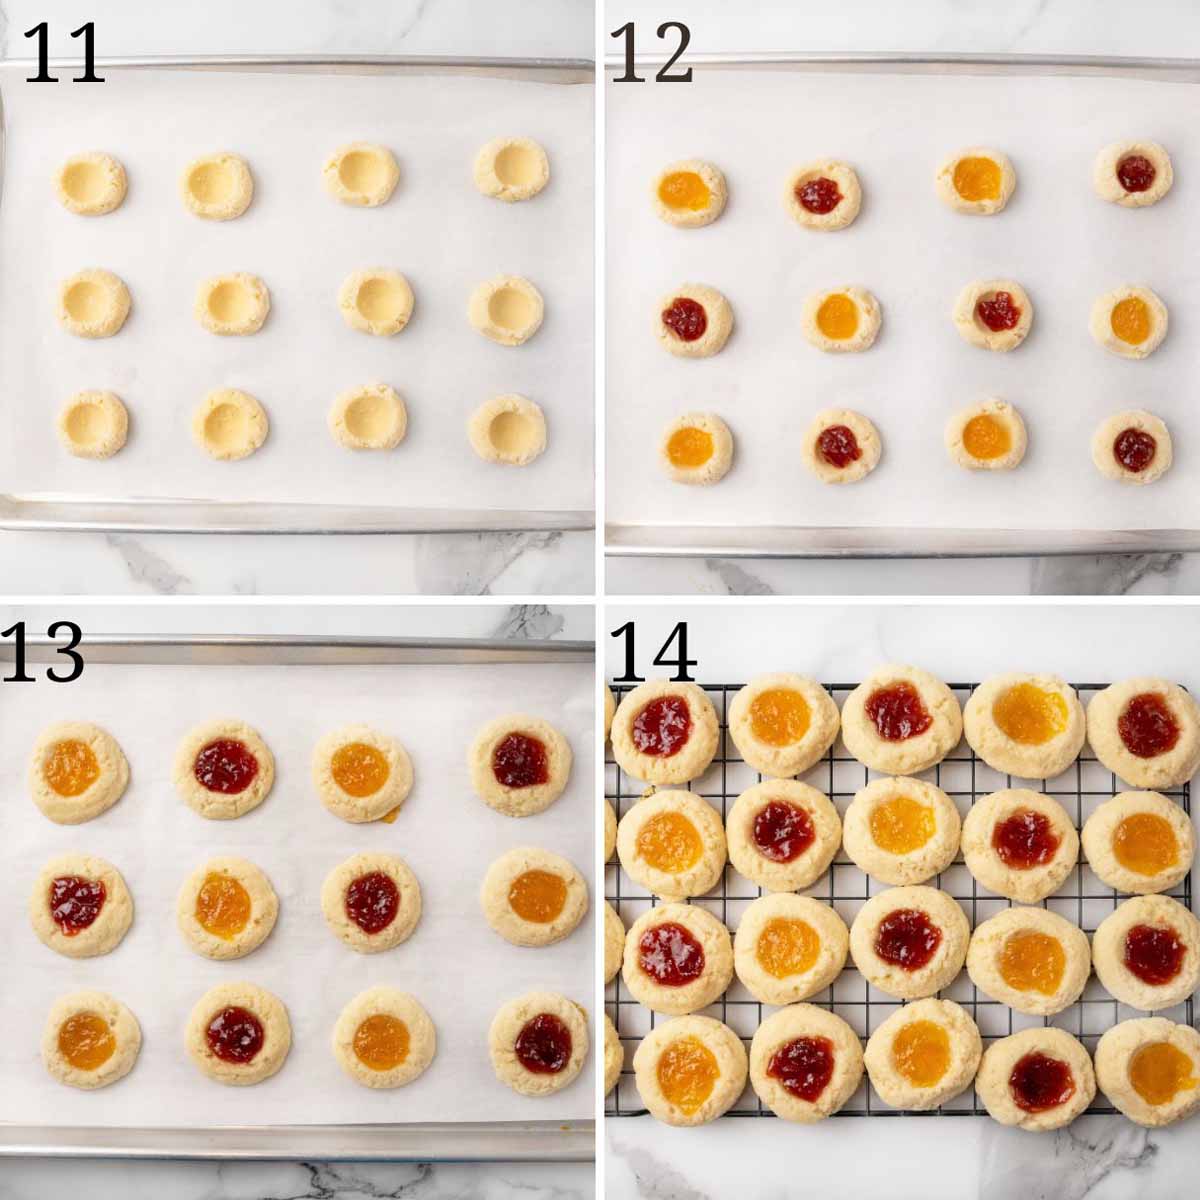
- Repeat the process until all of the dough balls have an indent.
- Spoon ½ teaspoon of jam into the middle of each cookie.
- Place the baking sheets on the center rack of the preheated oven and bake for 12-14 minutes or until the cookies are set and the bottoms are lightly browned.
- Remove the pans from the oven and let them cool for 10 minutes. Then, carefully transfer the cookies to a wire rack to cool completely.
Chef Tips
- Use high-quality jam for the best flavor.
- Press the indentation with your thumb or the back of a teaspoon for a uniform size.
- If the jam sinks after baking, top it off with a little extra while the cookies are still warm.
Jam Thumbprint Cookies are simple and versatile, making them perfect for not just the colder months, but also for Easter, bake sales, birthdays, and cookie swaps.
After one bite, you’ll be keeping this recipe in your back pocket for any time you want a treat that looks like you went all out.
How to Store and Freeze
Store Jam Thumbprint Cookies in an airtight container at room temperature for up to 5 days. If stacking them, place parchment paper between the layers to keep the jam centers from sticking.
You can freeze the cookies in a freezer-safe container for up to 2 months. Let them thaw at room temperature before serving.
Recipe FAQs
That usually happens when the dough is a little dry or you press too hard when making the center. Try using a gentler press, and if the dough feels stiff, give it a quick knead with your hands to warm it up a bit before shaping.
Chilling helps prevent spreading. It can also be due to butter that’s too soft or not enough flour in the mix. Make sure you’re spooning and leveling the flour instead of scooping, and let the butter sit out just until it gives a little when you press it.
Absolutely. You can cut the sugar by about a quarter and still end up with a soft, tender cookie. It actually lets the butter and jam stand out a little more.
Yes, the dough can be made a day in advance and stored in the refrigerator. Just let it sit at room temperature for 10 minutes before rolling.
More Recipes You’ll Love!


Thumbprint Cookies Recipe
Equipment
- baking sheet
Ingredients
- 1 cup unsalted butter softened
- ⅔ cup granulated sugar
- 2 large egg yolks room temperature
- 1 teaspoon vanilla extract
- ¼ teaspoon table salt
- 2 ⅓ cups all-purpose flour spooned & leveled
- 3 tablespoons granulated sugar to roll the cookies
- ¼ cup strawberry preserves
- ¼ cup peach preserves
WANT TO SAVE THIS RECIPE?
Instructions
- Preheat oven to 350°F
- Line two large baking sheets with parchment paper, set aside until needed.
- Add the softened butter and sugar to the bowl of a stand mixer fitted with the paddle attachment (or a large mixing bowl and an electric mixer).
- Whip the butter and sugar for 1-2 minutes at medium speed, until creamy and well combined.
- Add the egg yolks, vanilla extract, and table salt and whip until fully combined,.
- Add the flour and mix slowly until a dough forms.
- Using a one-tablespoon cookie scoop, portion the dough and roll into balls.
- Roll the balls in granulated sugar and place them on the prepared baking sheets.
- Use your thumb (or a large spoon) to press an indentation into each dough ball.
- Spoon ½ teaspoon of jam into the indentation in each cookie.
- Place the baking sheets on the center rack of the preheated oven and bake for 12-14 minutes or until the cookies are set and the bottoms are lightly browned.
- Remove the pans from the oven and cool for 10 minutes, then carefully transfer the cookies to a wire rack to cool completely.
Notes
- Leave the indent empty and fill it with chocolate ganache when they’re done baking.
- Roll dough balls in finely chopped nuts before baking.
- Drizzle baked cookies with white or dark chocolate.
- Use high-quality jam for the best flavor.
- Press the indentation with your thumb or the back of a teaspoon for a uniform size.
- If the jam sinks after baking, top it off with a little extra while the cookies are still warm.
Leave a Comment