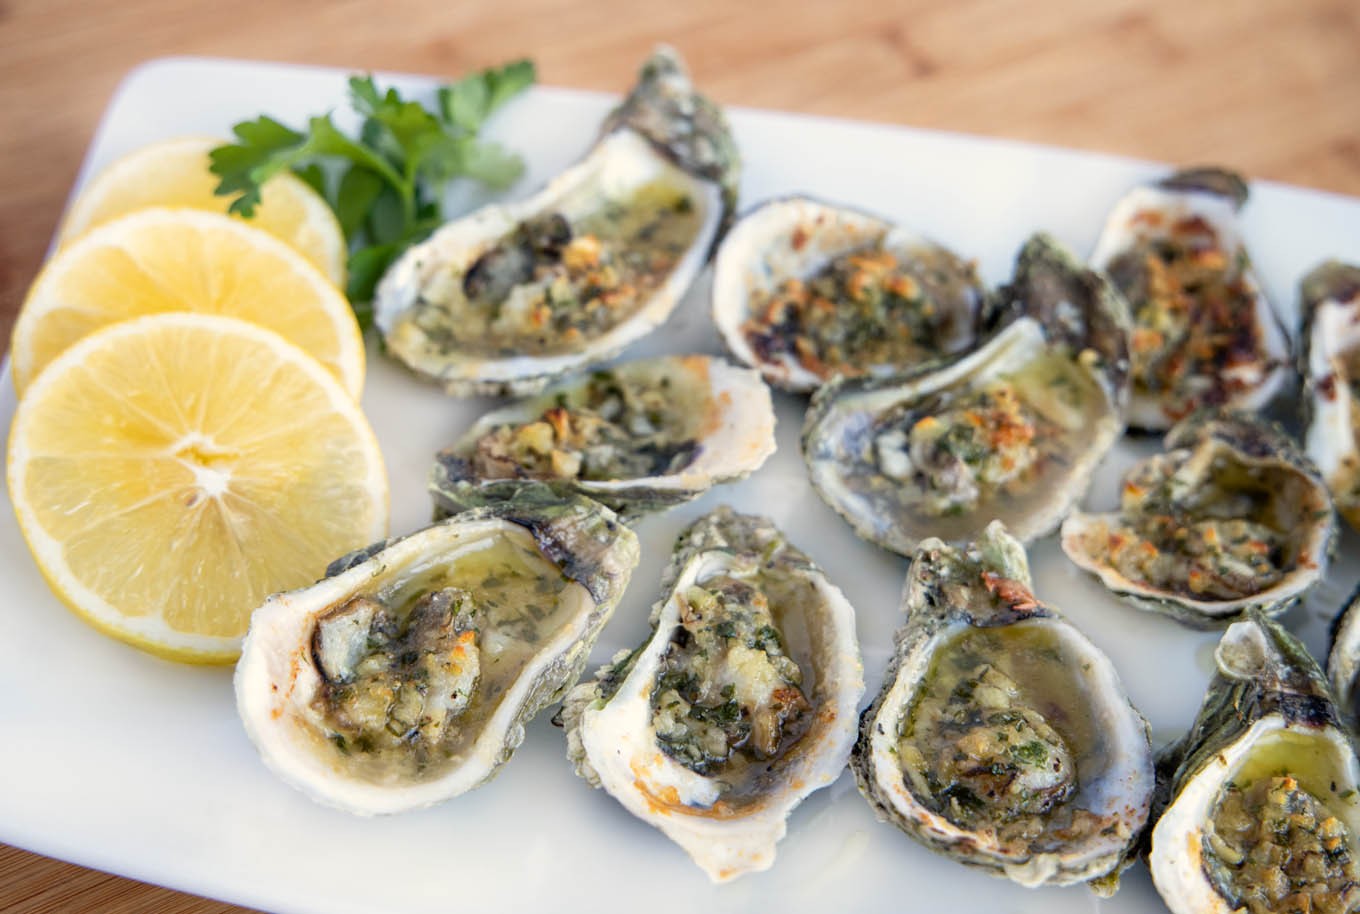
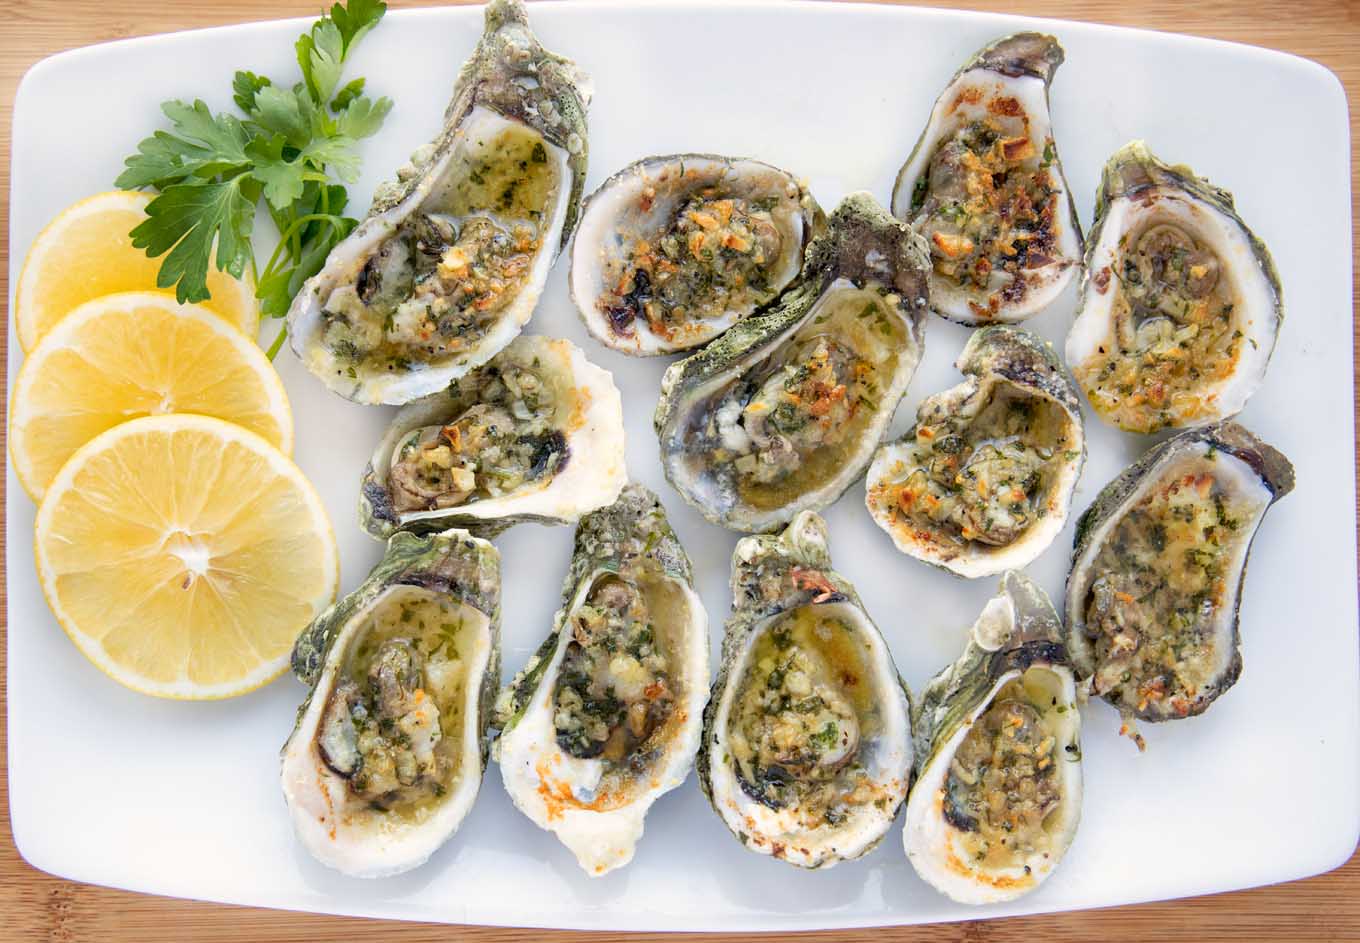
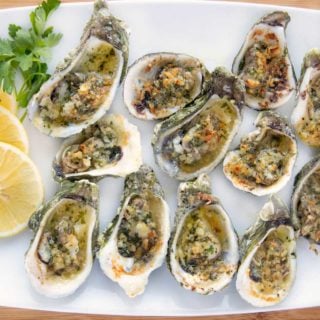
Garlic Oysters were one of the most popular appetizers on my restaurant menu years ago at the Jersey Shore. You may not find these on many menu’s but this restaurant classic is sure to be a welcome addition to your dinner table for the holidays and beyond.
Oysters, including my delicious Oysters Rockefeller, have always been popular but it seems that they’ve become the most sought after seafood item in many restaurants. No longer reserved for special occasions more people are enjoying oysters at their favorite restaurants.
And the truth is you can buy oysters for a lot less than you’ll get charged at restaurants and the hard part of opening oysters isn’t as difficult as you think.
What do I need to make Garlic Oysters?
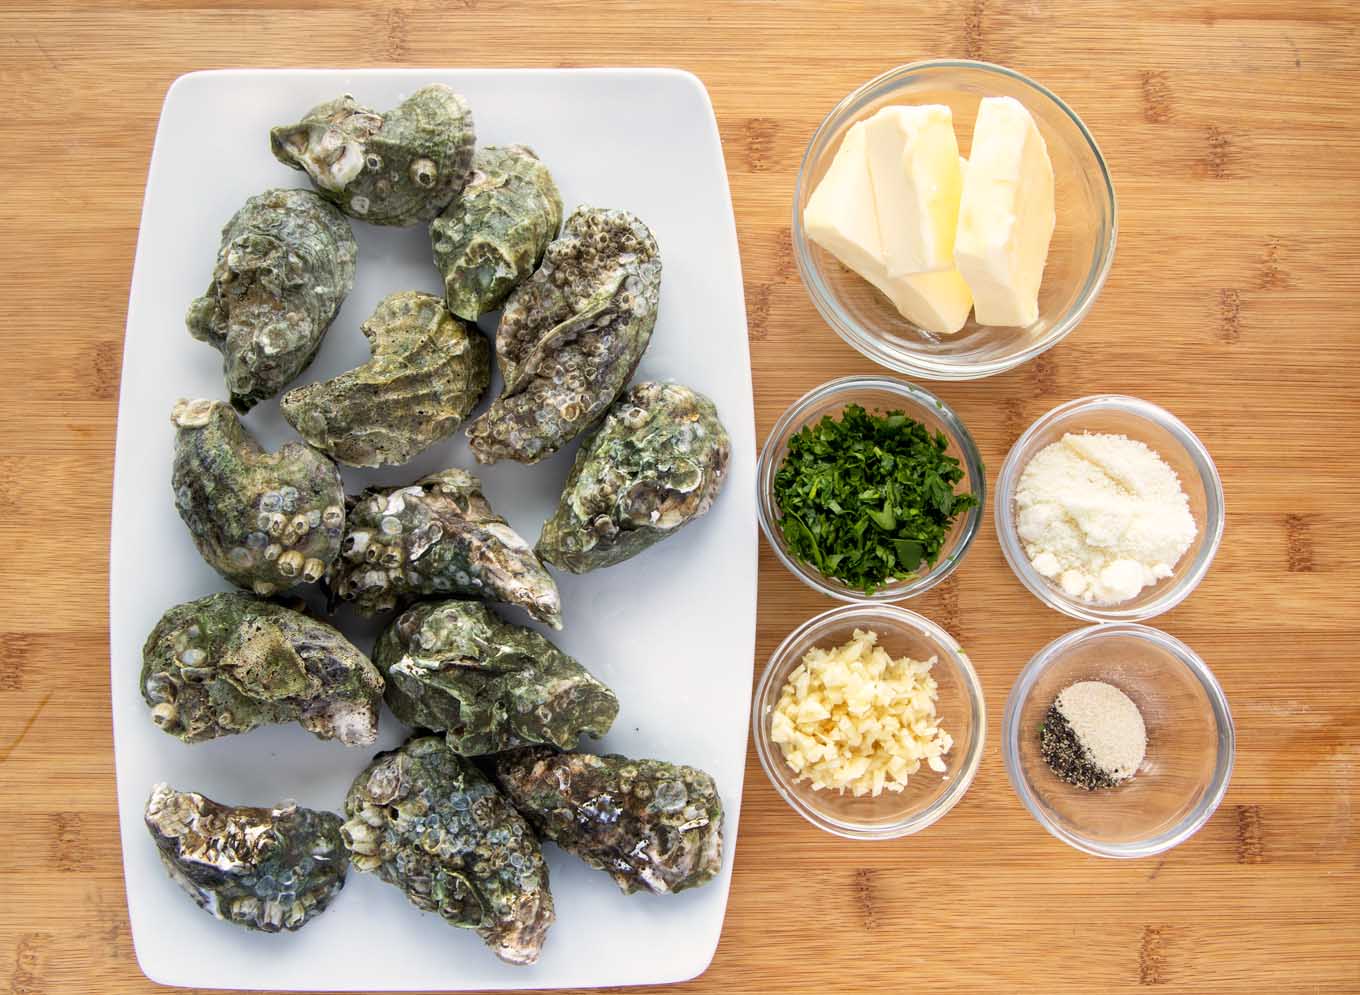
Let’s start by gathering our ingredients for this dish. In chef speak we call that the Mise en Place loosely translated into everything in its place. The ingredient list is short with the stars of the dish being the oysters and garlic butter. You can add your favorite seasoning and make these delicious mollusks just how you like them.
If you’re staying away from butter (gasp) you can use your favorite butter substitute instead.
Do I need to clean Oysters before opening?
Before opening the oysters place them in a bowl and allow cold water to run over them for about 5 minutes as you gently toss the oysters in the bowl. Dump the water out every now and then to make sure it is as clean as possible. When the water starts running clear you’re good to go.
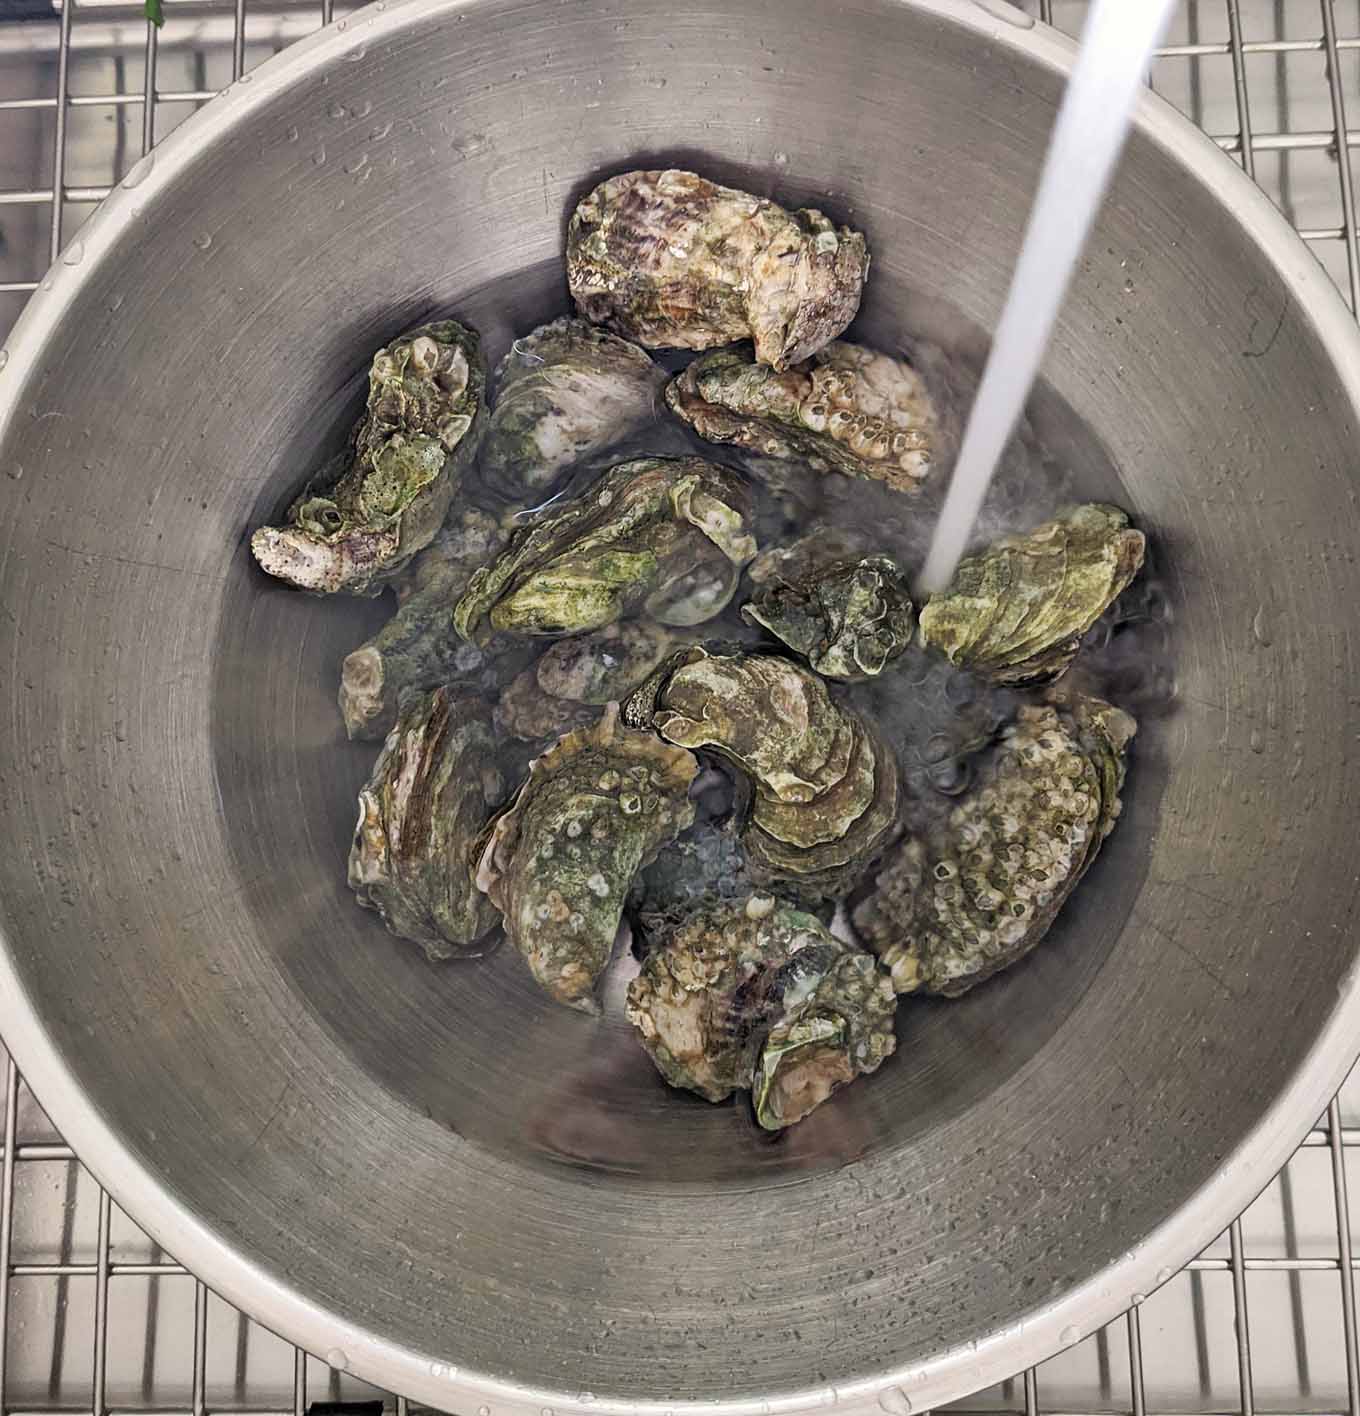
If the oysters are really dirty you may need to small brush to loosen up the dirt. You can also add some ice to the water to help loosen up more bits from the shells. The cubes will help dislodge bits from the shells and keep the oysters chilled.
How do I open oysters?
The way any true oysterman or chef would open the oysters is with an oyster knife.
Lay the oyster flat in your hand and hold it in place. Insert the tip of the oyster knife into the “hinge” at the back of the oyster and gently twist the edge of the knife to pry it open. Carefully cut the muscle away from the shell by sliding the knife horizontally along the inside top of the shell. This method is really not difficult if you happen to have an oyster knife.
The second method I read about and tried was using a paring knife.
Start at the front or side of the oyster (not the hinge) and gently insert the knife between the line where the top and bottom shells meet. Once it starts to open, twist the knife 90 degrees and cut the adductor muscle that connects the top and bottom shells. I tried this method and although some folks think its pure genius I see it as a way to get some pretty nasty cuts on your hands. I don’t recommend this method.
The third (and recommended) method is using a flat head screwdriver.
A flat-head screwdriver works pretty much the same way an oyster knife will. And since just about everyone has a flat head screwdriver it makes it the perfect replacement for an oyster knife.
Find the shortest thick-bladed screwdriver you have and wash it thoroughly.
Lay the oyster flat in your hand and hold it in place. Insert the tip of the screwdriver into the “hinge” at the back of the oyster and rotate the handle to pry open the oyster. At this point, you’ll need a pairing knife to cut the muscle away from the shell by sliding the knife horizontally along the inside top of the shell.
Easy Peasy!
The fourth method is using heat.
Place the oysters in a microwave-safe bowl and cover them tightly with plastic wrap. Microwave the oysters on high until shells open slightly. This should take about 1 to 1 ½ minutes.
Remove the oysters as they start to open (discard any that do not open). Hold the partially opened oysters with hinge toward you, insert a paring knife between shells near the hinge, and twist the knife to open the oyster. Then carefully cut the muscle away from the shell by sliding the knife horizontally along the inside top of the shell and fully open the oyster.
You can also place the oyster on a grill the direct heat will also open the oyster.
As long as you remove the oysters from the heat as soon as they open you won’t cook the oyster. The shells are thick and it takes a bit longer to actually cook the oyster.
**With all the Methods**
After opening your oysters with one of the methods and removing the top shell, run the paring knife under the oyster and cut the muscle loose. Flip the oyster over and you’re ready to serve them on the half shell or stuff them.
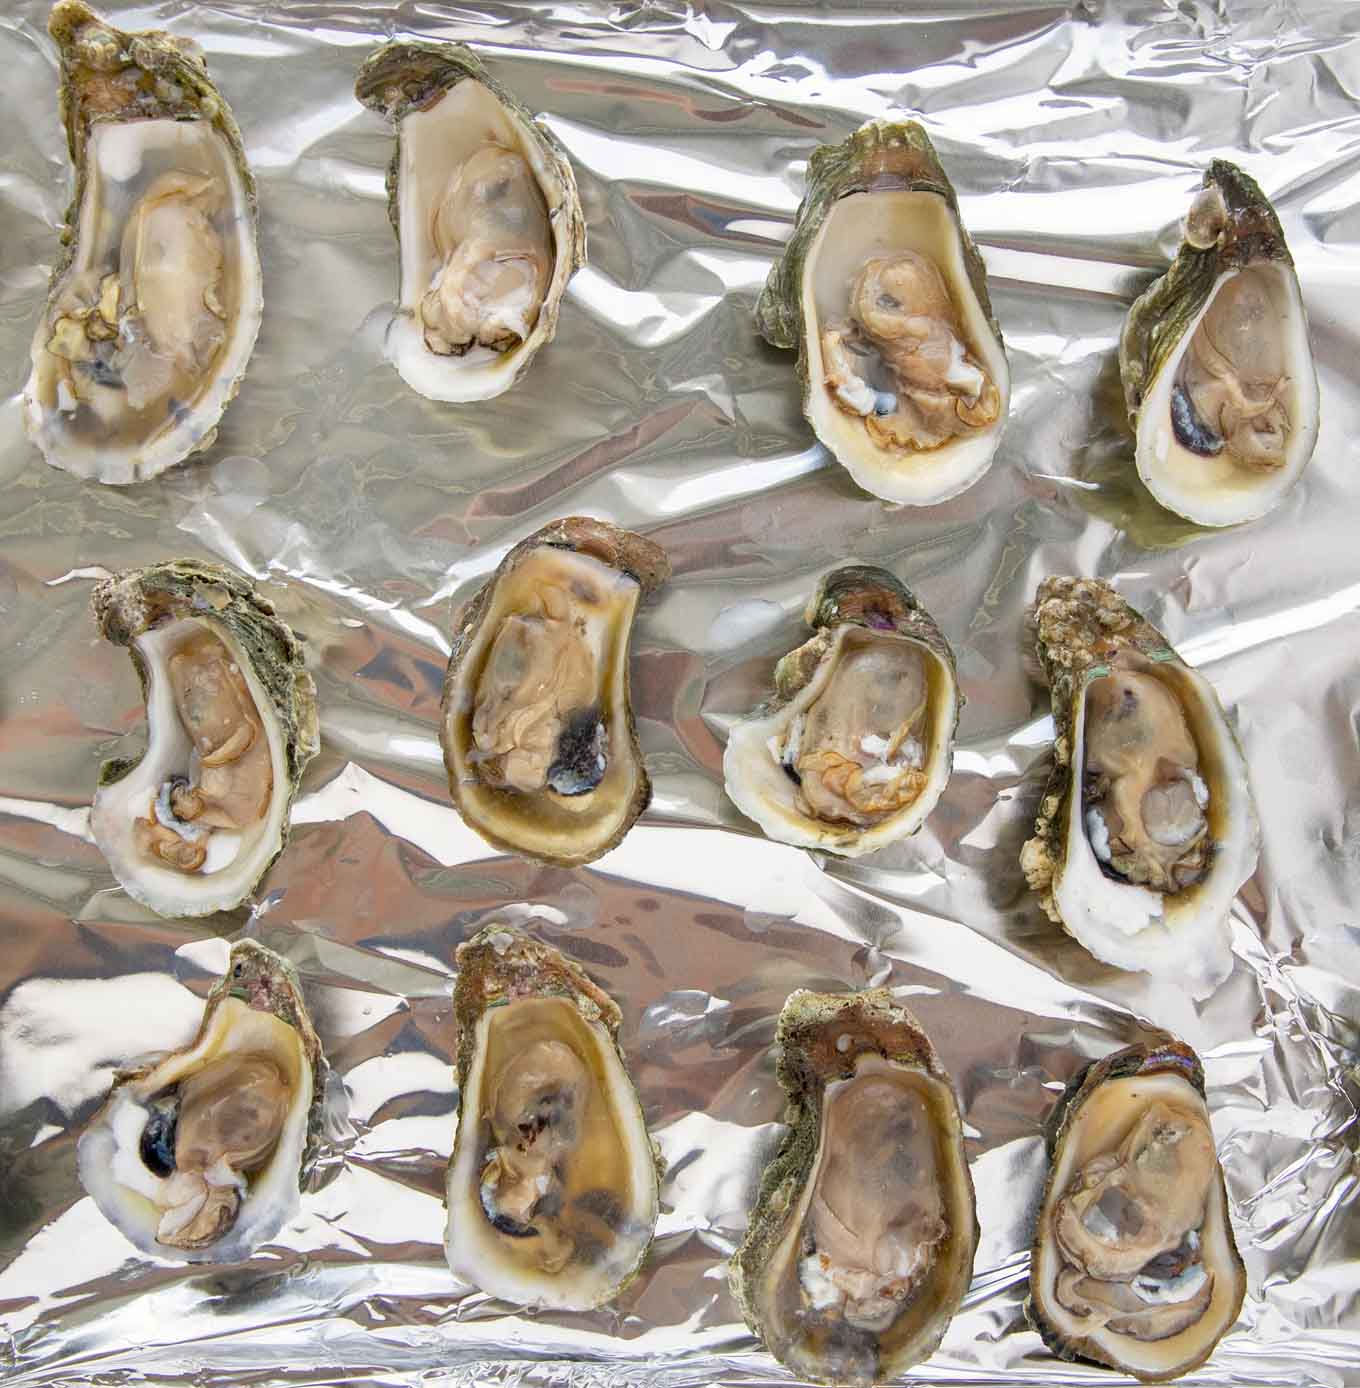
Now that the oyster are open you’re ready to go. If you premade the garlic butter you can start topping them right away. If you still have to make the garlic butter place the oyster on ice or in the fridge until you’re ready to top them.
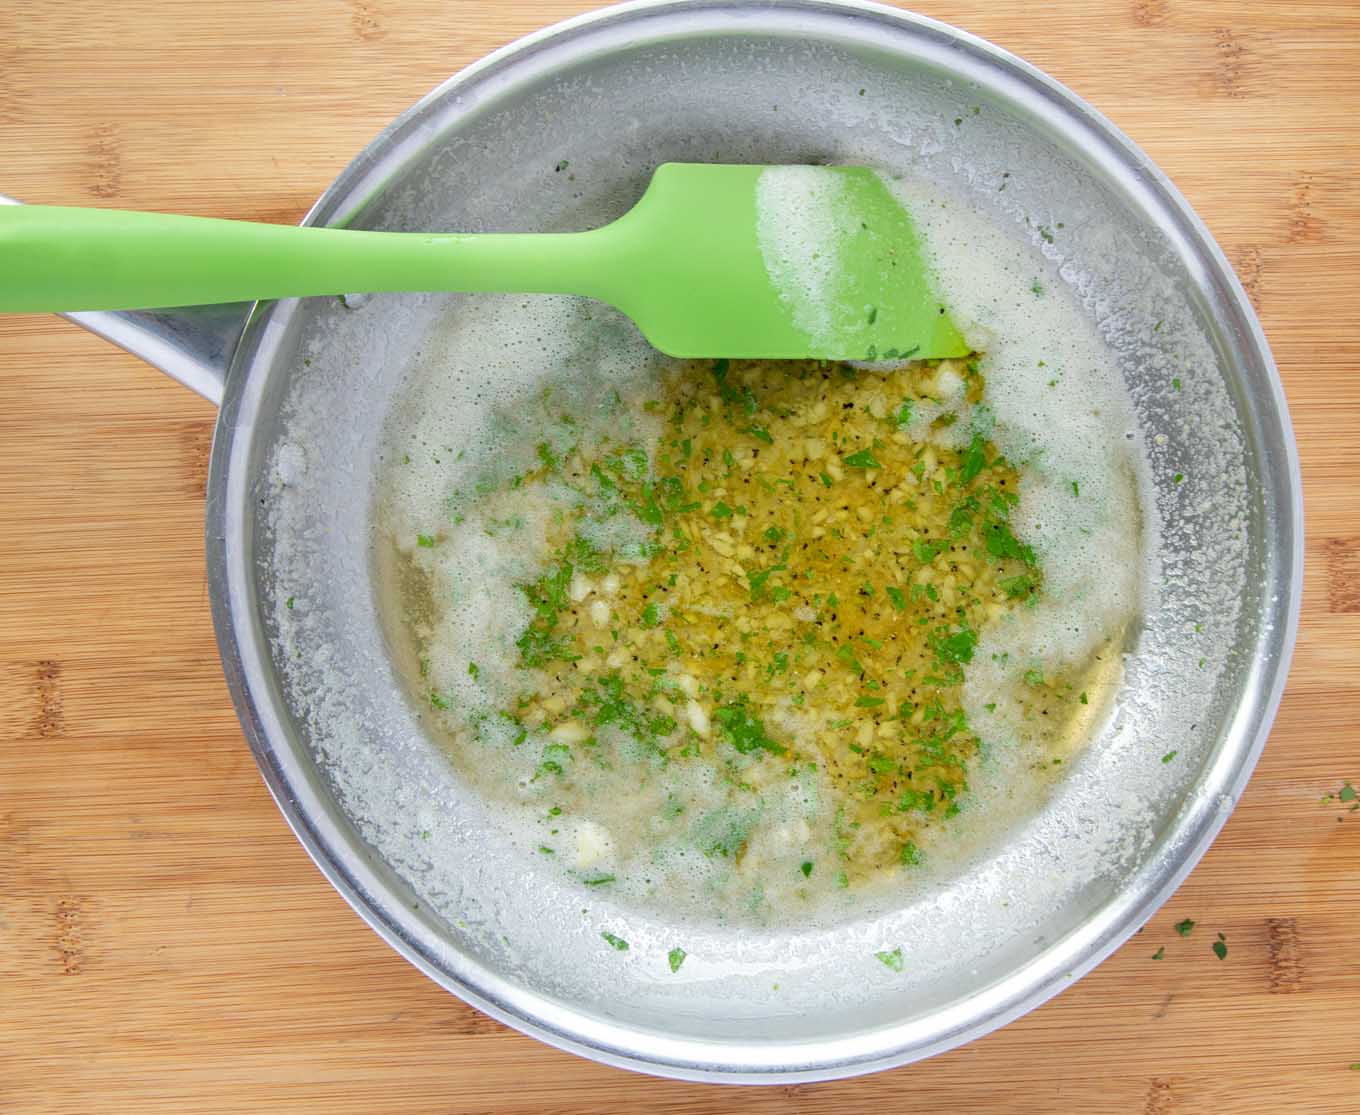
Add the butter and garlic to a heavy saucepan and allow it to simmer on low for 5 minutes. After the garlic has simmered, add the seasonings and chopped parsley to the pan. Place the garlic butter mixture in a bowl and allow it to chill to harden. Stir the butter from time to time to keep all the ingredients mixed.

When the butter is somewhat hardened, add a small spoonful of the mixture to the top of each oyster.
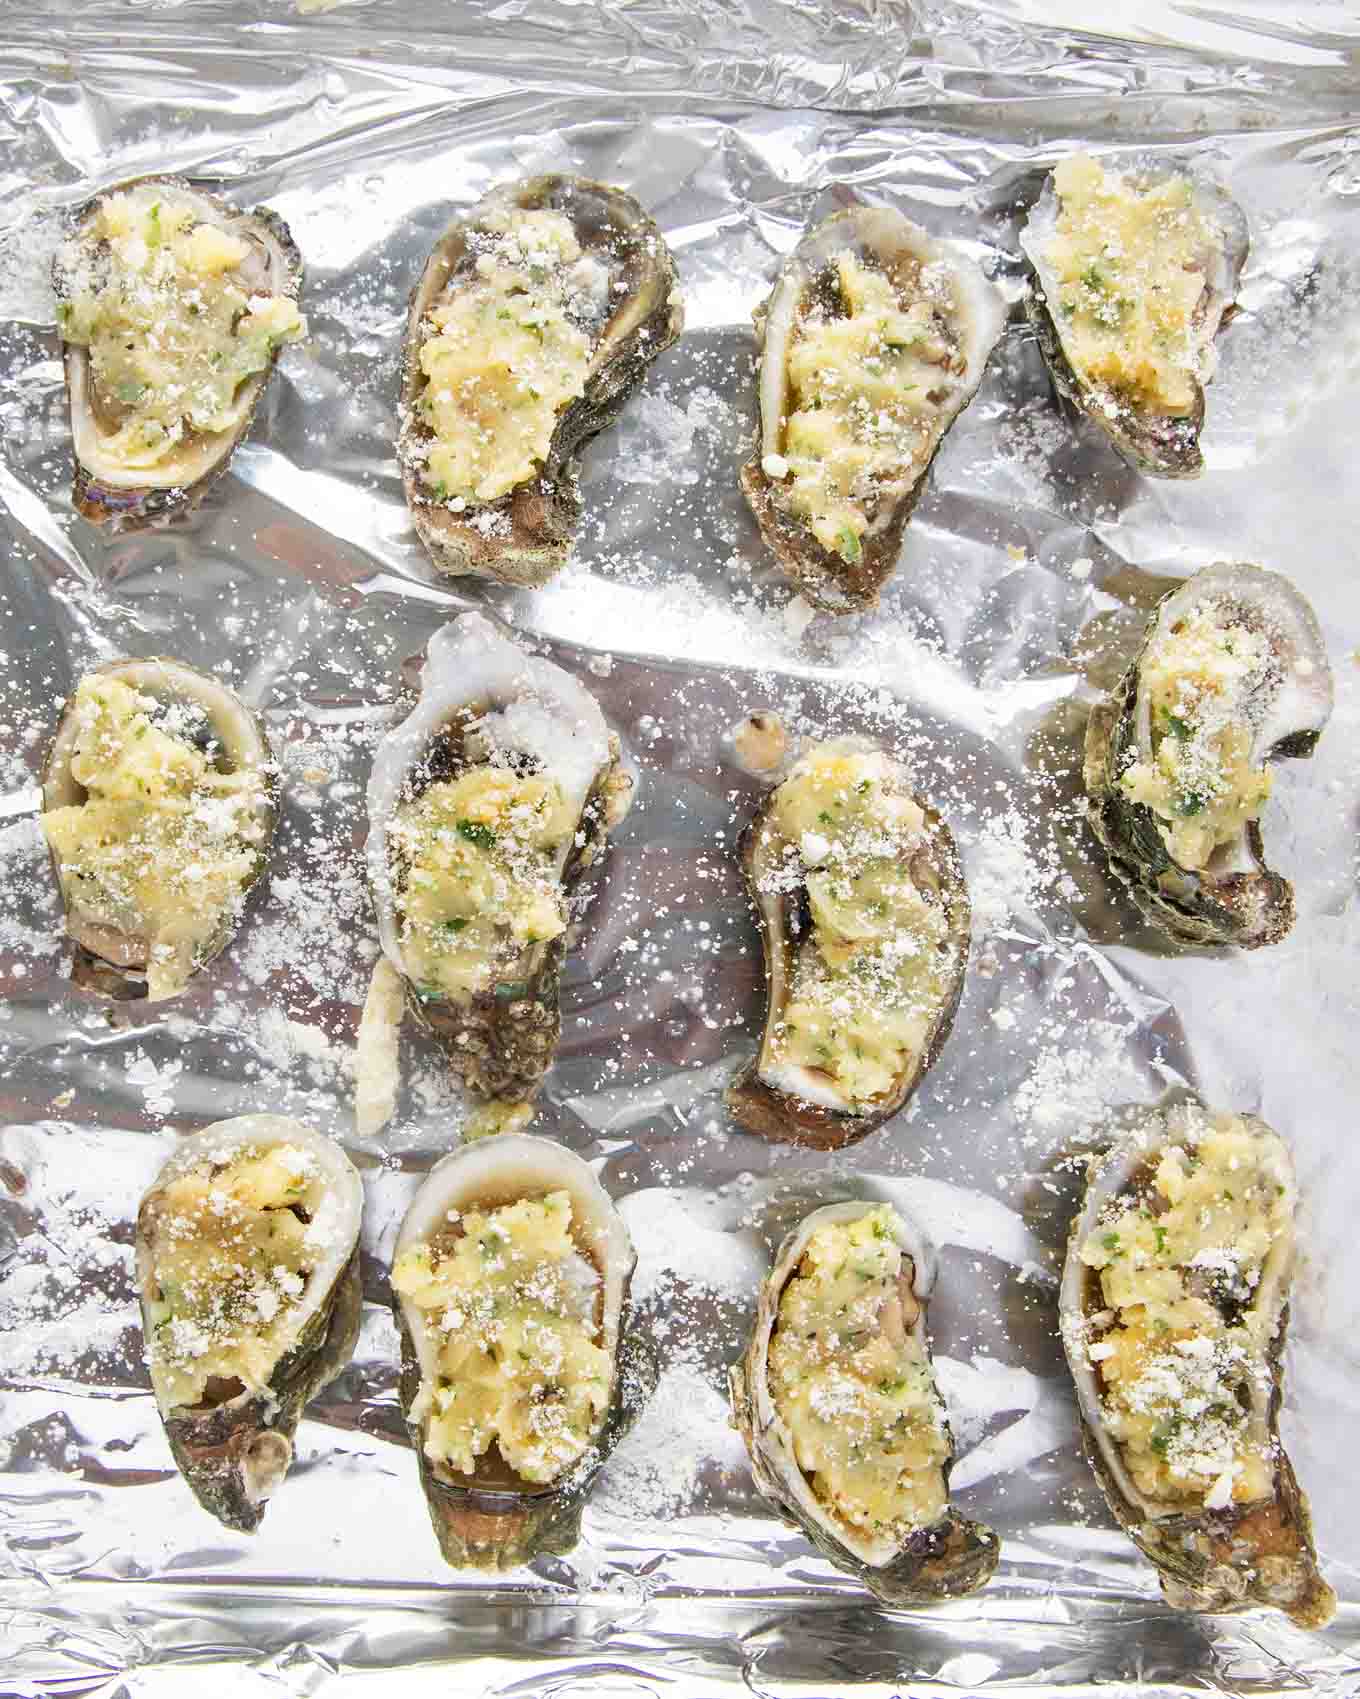
Then sprinkle the topped oysters with grated Romano cheese. The oysters can be refrigerated after stuffing, so you can make them ahead of time.
Place the oysters in a 400-degree F. oven for 15 – 20 minutes or under a broiler for 3-5 minutes.
Chef Dennis Tip:
When purchasing any seafood, shellfish especially, look for a safe food source. If the oysters are open prior to opening before their use, discard them.
Recipe FAQ’s
Top each oyster with garlic butter, then place the oysters on a baking sheet. Place on the center rack of a preheated 400-degree oven for 15-20 minutes or under the broiler for 3-5 minutes.
Yes, you can. Place the garlic butter topped oysters directly on the grill grates, shell-side down, and close the lid. Cook until the garlic butter is bubbly and browning. About 3 to 5 minutes.
Garlic Oysters will freeze very nicely. After adding the garlic butter and Romano cheese, place the sheet pan in the freezer allowing the oysters to freeze. After the garlic oysters have frozen solid place them in a container or Ziploc bag for storage. The garlic oysters will hold up frozen for 4-6 weeks
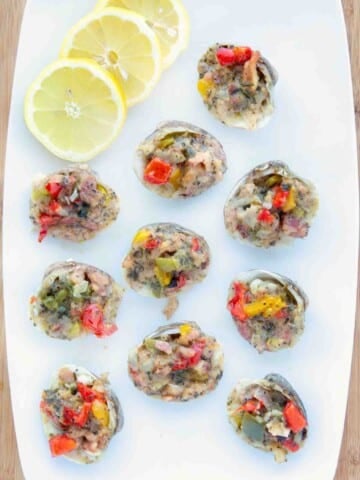
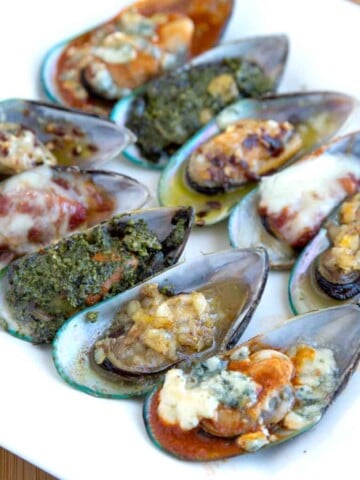
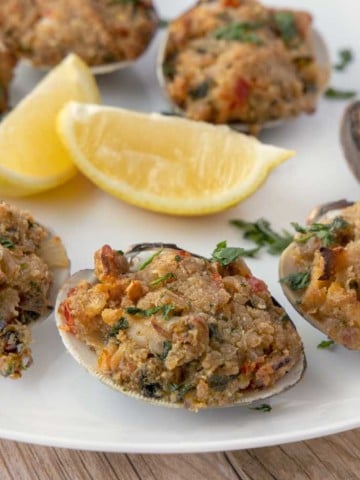
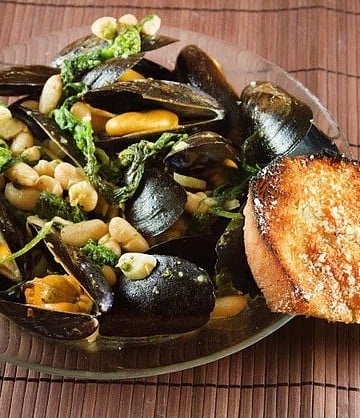
More Seafood Recipes You’ll Love!
Garlic Oysters – A Restaurant Classic
Ingredients
- 12 Oysters fresh oysters opened before use
- 2 tablespoon garlic fine chop
- 4 ounces butter
- 1 teaspoon Italian Parsley fine chop
- ¼ teaspoon granulated onion
- ⅛ teaspoon black pepper
- 1 tablespoon Romano cheese grated
Instructions
- In a heavy saucepan, place butter and garlic and simmer over low heat for 7-10 minutes.
- Remove from the heat and add all the seasonings except the Romano cheese.
- Place garlic butter into a small bowl and refrigerate until butter is semi-solid, mixing occasionally to keep the garlic well-blended throughout the mixture.
- Clean the oysters under running cold water to remove all of the dirt. Discard any open oysters as they are dead and not safe to eat.
- Find the shortest thick bladed screwdriver you have and wash it thoroughly. Lay the oyster flat in your hand and hold it in place. Insert the tip of the screwdriver into the "hinge" at the back of the oyster and rotate the handle to pry open the oyster. At this point, you'll need a pairing knife to cut the muscle away from the shell by sliding the knife horizontally along the inside top of the shell.
Run the knife under and over to but release the oyster from the shell. Then turn the oyster over in the shell.***Do Not Dump Out the Liquid in the Oyster!! - Place the opened oysters on a cutting board or baking sheet until they're all open and ready to fill with the garlic butter.
- Spoon a small amount of the garlic butter over each oyster on a half shell, then sprinkle with Romano cheese.
- Place Oysters on a baking sheet, then into a preheated 400-degree oven for 15-20 minutes or under the broiler for 3-5 minutes.
- Place any of the butter that has drained from the oysters back over them before serving.
- Serve and enjoy!
Mike M says
I do a variation of this but with slow roasted Garlic confit, using the butter as the fat. 1 stick of butter to a fist full of peeled garlic. In a ramekin for 60 mins at 300 or 90 min at 250, basically just enough to have the garlic soften before it starts to brow. I blend that together and then let it cool. The flavor is amazing. If you have the time to make it ahead, I much prefer it over simmering on the stove.
Mark Kelly says
This recipe is a keeper! Has been a big hit with dinner guests. I was wondering if the addition of a finely diced shallot to the compound butter, and perhaps a pinch of diced fresh dill might mask the flavour of the oysters too much?
Chef Dennis Littley says
I think they would both be excellent additions. The shallots will fit into the flavor profile nicely and if you like the flavor of dill, a little hint of it would be a nice touch.