


My Japanese cheesecake recipe is creamy, dreamy, and fluffy. Not to mention absolutely delicious and mind-blowing!
It is not your grandmother’s cheesecake, that’s for sure. If I’ve piqued your interest, read on and learn how to make this exquisite recipe.
Audio Player
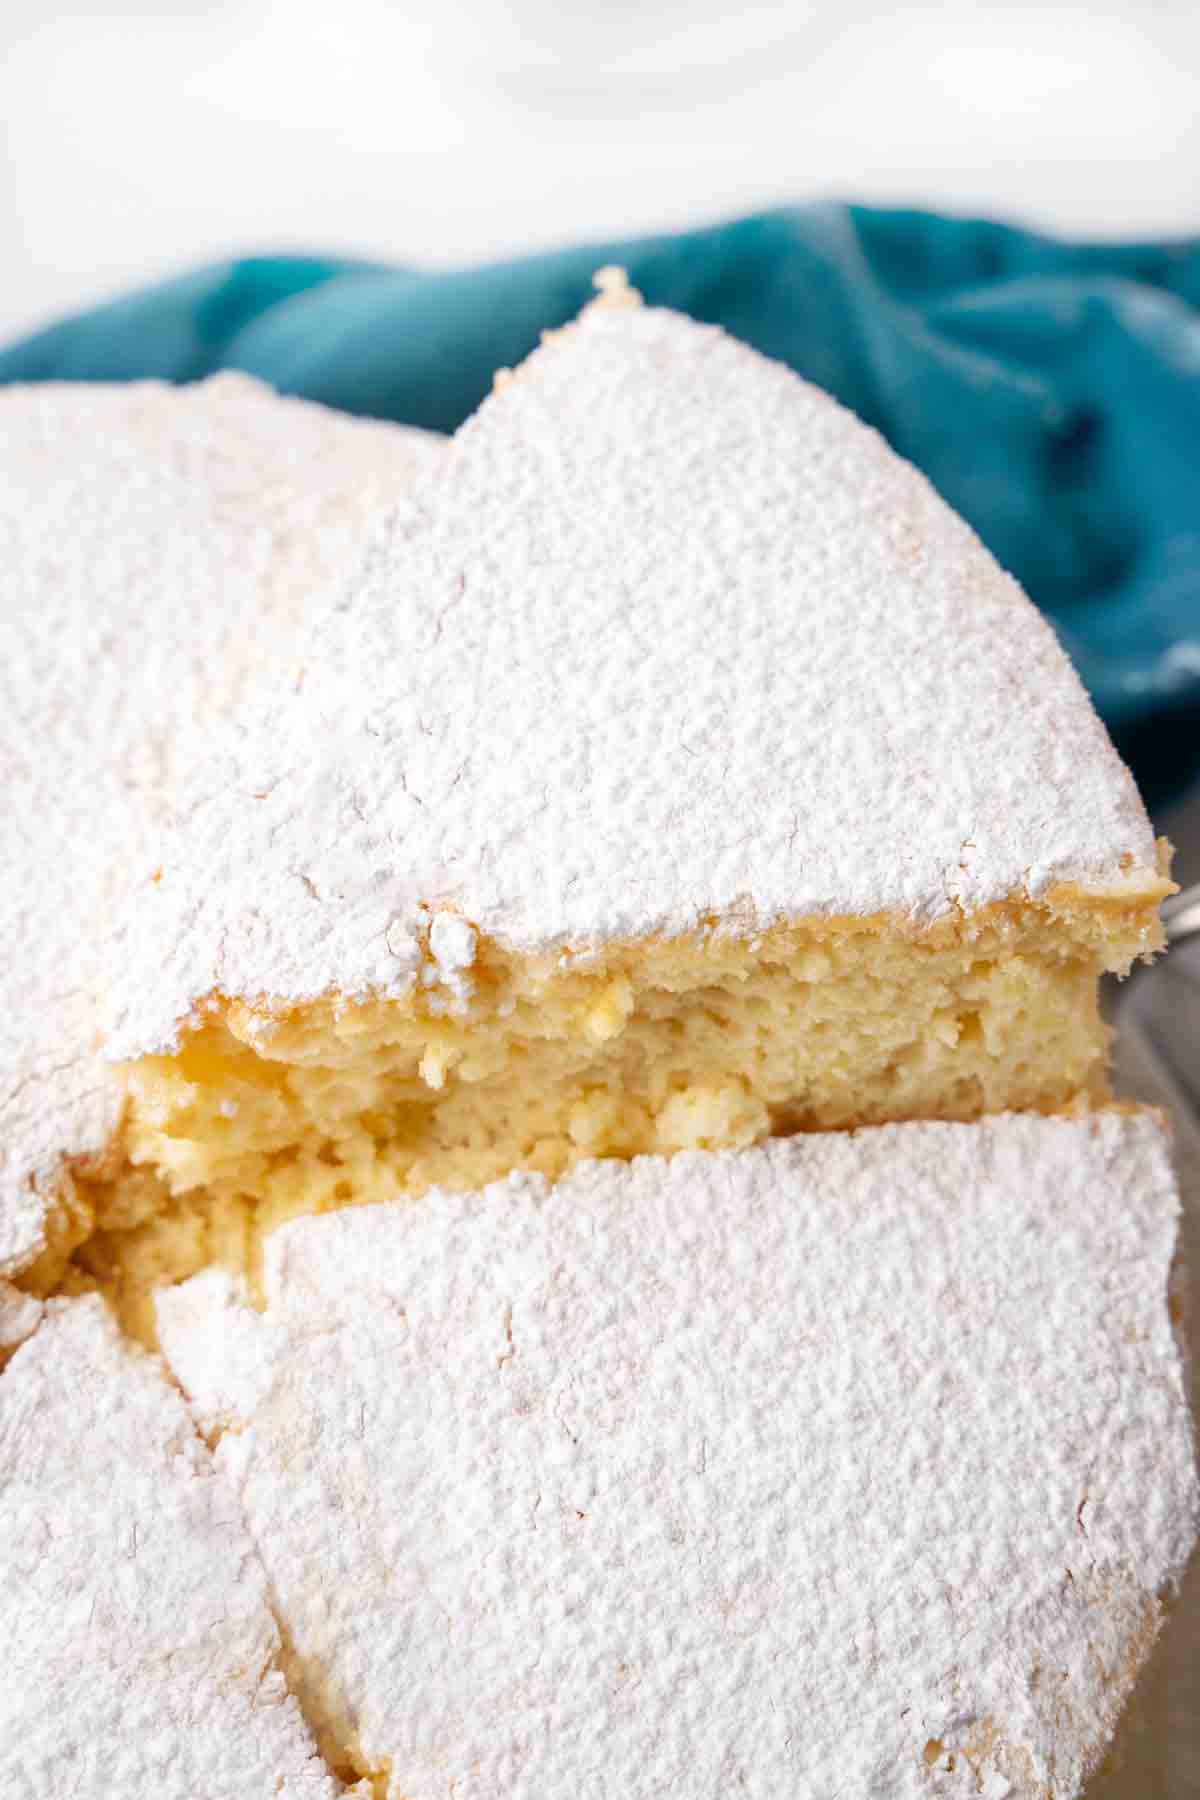
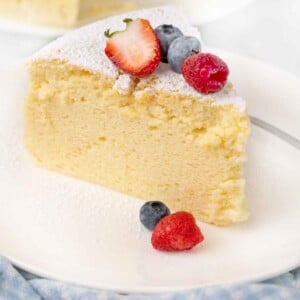
Japanese cheesecake, also known as Japanese soufflé cheesecake and Japanese cotton cheesecake, has a characteristically wobbly, airy texture similar to a soufflé when fresh out of the oven and a chiffon cake-like texture when chilled.
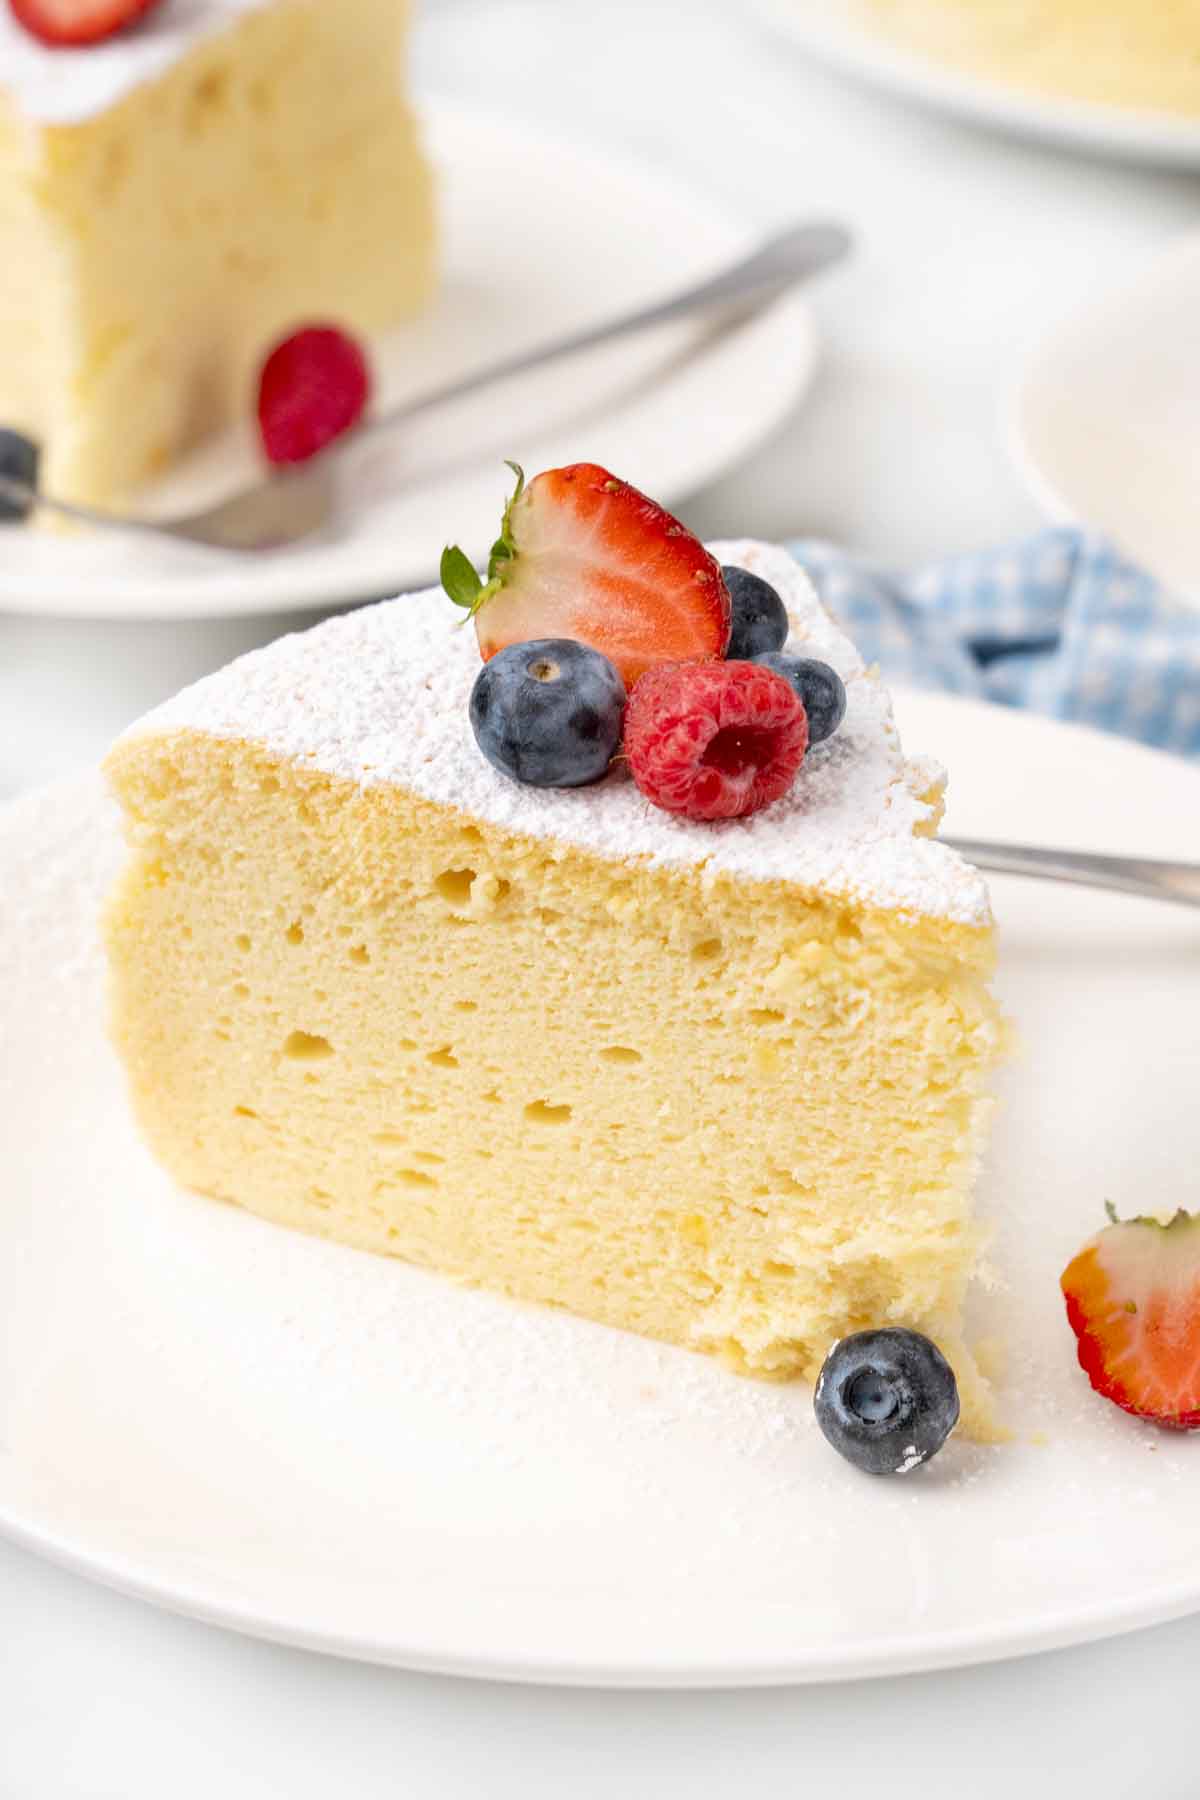
This cheesecake is lighter and far more delicate than a regular cheesecake.
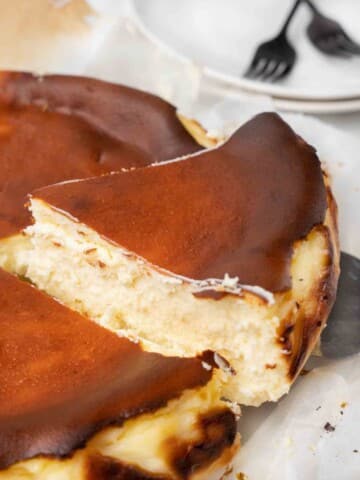
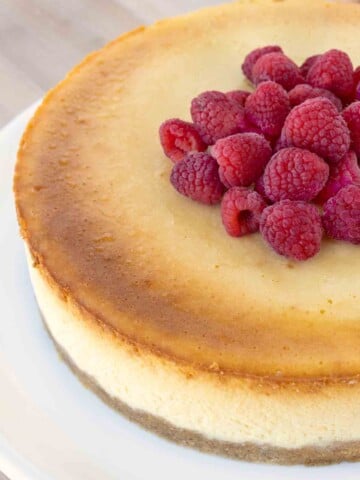
If you love cheesecake, make sure to try our burnt basque cheesecake and salted caramel cheesecake recipes.
Chef Tips
- All of the cold ingredients should be at room temperature. The cream cheese and butter should be soft and spreadable.
- Separate the eggs while they are cold, then let them come to room temperature. When beaten, egg whites should be at room temperature to achieve the best results.
- To make the recipe, use an 8-inch springform pan or an 8-inch round 3-inch deep cake pan. Place a parchment circle in the bottom of the pan to make removing the cake from the pan easier.
- The water bath is essential; it allows the cake to be baked at a consistent temperature.
Ingredients
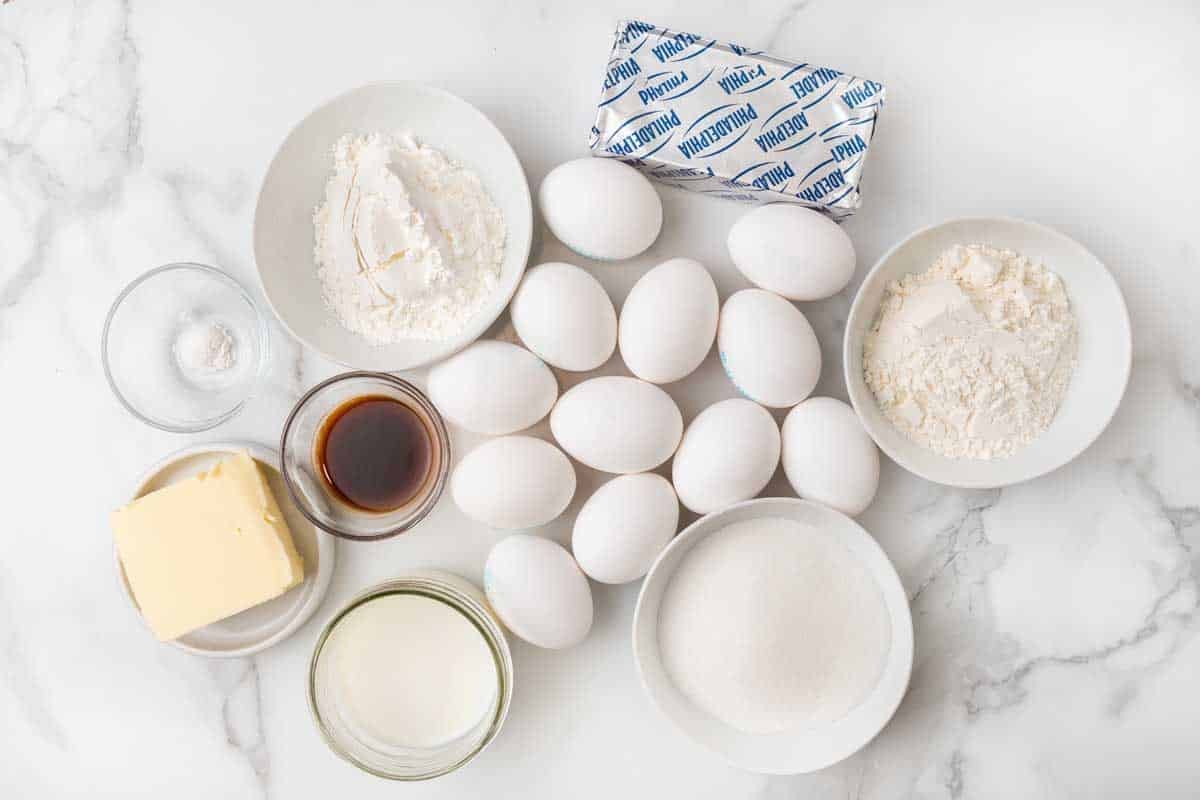
Gather the ingredients needed to make our fluffy Japanese Cheesecake recipe. In culinary terms, this is called the Mise en Place, which translates into “Everything in its Place.”
Setting up your ingredients not only helps speed up the cooking process but also helps ensure you have all of the ingredients on hand to make the recipe.
How to Make Japanese Cheesecake
Follow along with my easy instructions to see how to make japanese cheesecake in your own kitchen.
- Preheat the oven to 325 degrees F.
- Position a rack in the lower third of the oven.
- Cut a piece of heavy-duty aluminum foil large enough to reach the top of the pan on both sides. Fold the edges up and around the pan; this process will keep the springform pan waterproof.
- Repeat the process with two more sheets, starting at other spots on the pan so they overlap. Set aside until needed.
- Liberally grease the inside of the springform pan (or 3-inch deep 8-inch round cake pan) or spray with baking spray.
*You can add a parchment paper round to the bottom of the pan to help remove the cake more easily.

- Add the all-purpose flour and cornstarch to a large bowl.
- Whisk to combine, then sift the mixture. Set aside until needed.
- Add the room temperature cream cheese, unsalted butter, and whole milk to a medium saucepan over medium-low heat.
- Stir until the cream cheese mixture is completely smooth. Allow to cool completely.
- Add the room temperature egg yolks to the cooled cream cheese mixture.
- Whisk until pale.
*For a richer cheesecake, substitute heavy cream for the whole milk.
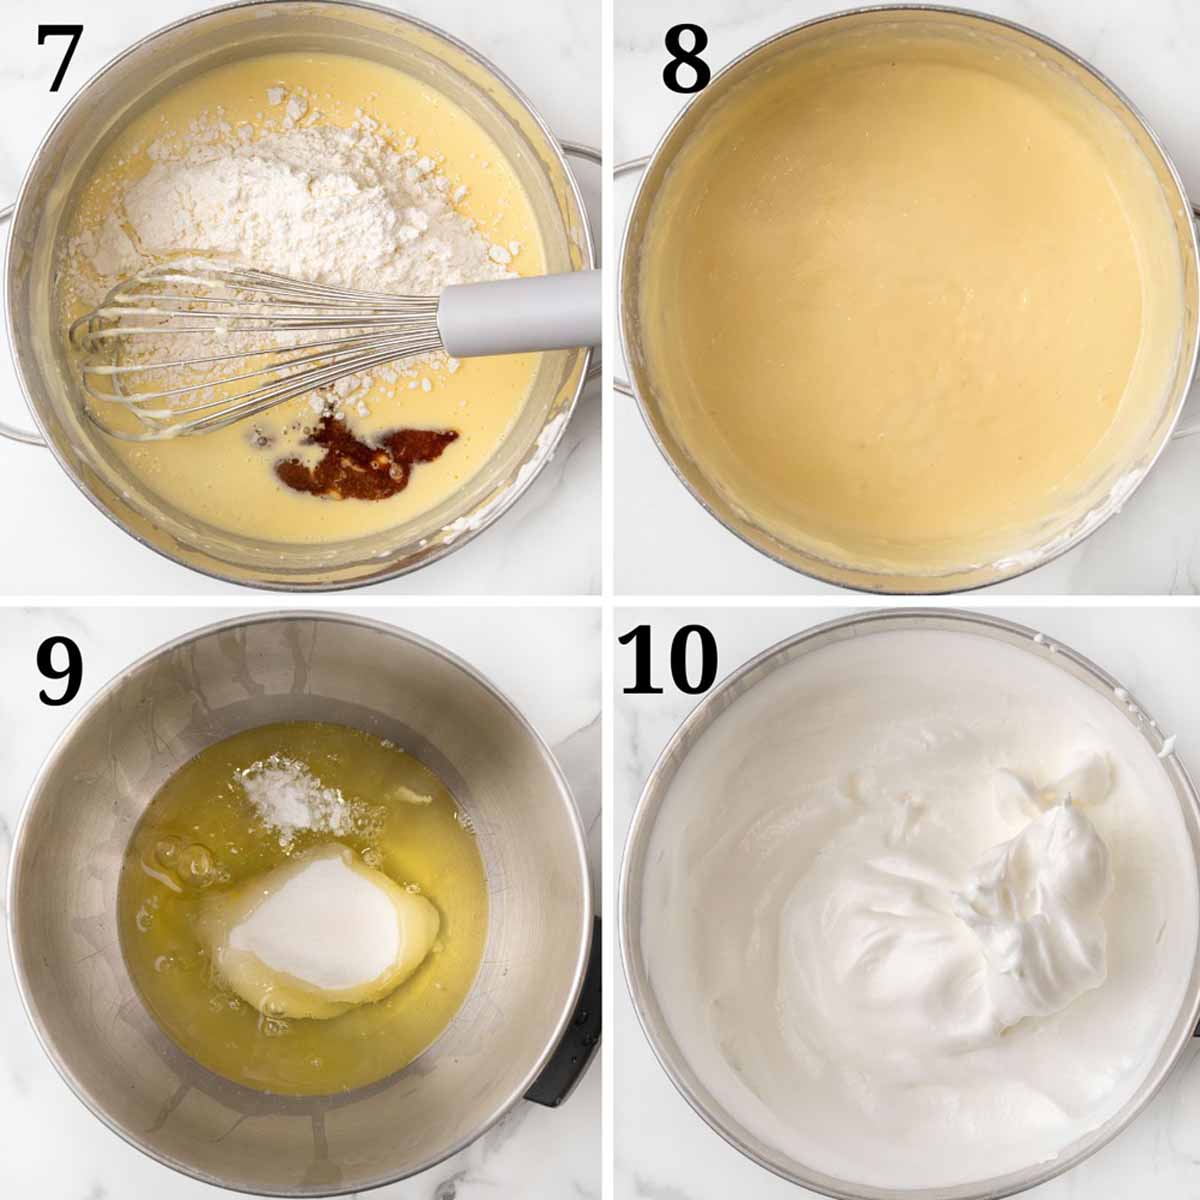
- Add the flour mixture and vanilla extract to the egg yolk mixture.
- Mix until just combined.
- Add the egg whites, cream of tartar, and granulated sugar to the bowl of a stand mixer fitted with the whisk attachment.
- Whip on high speed until you get soft peaks.
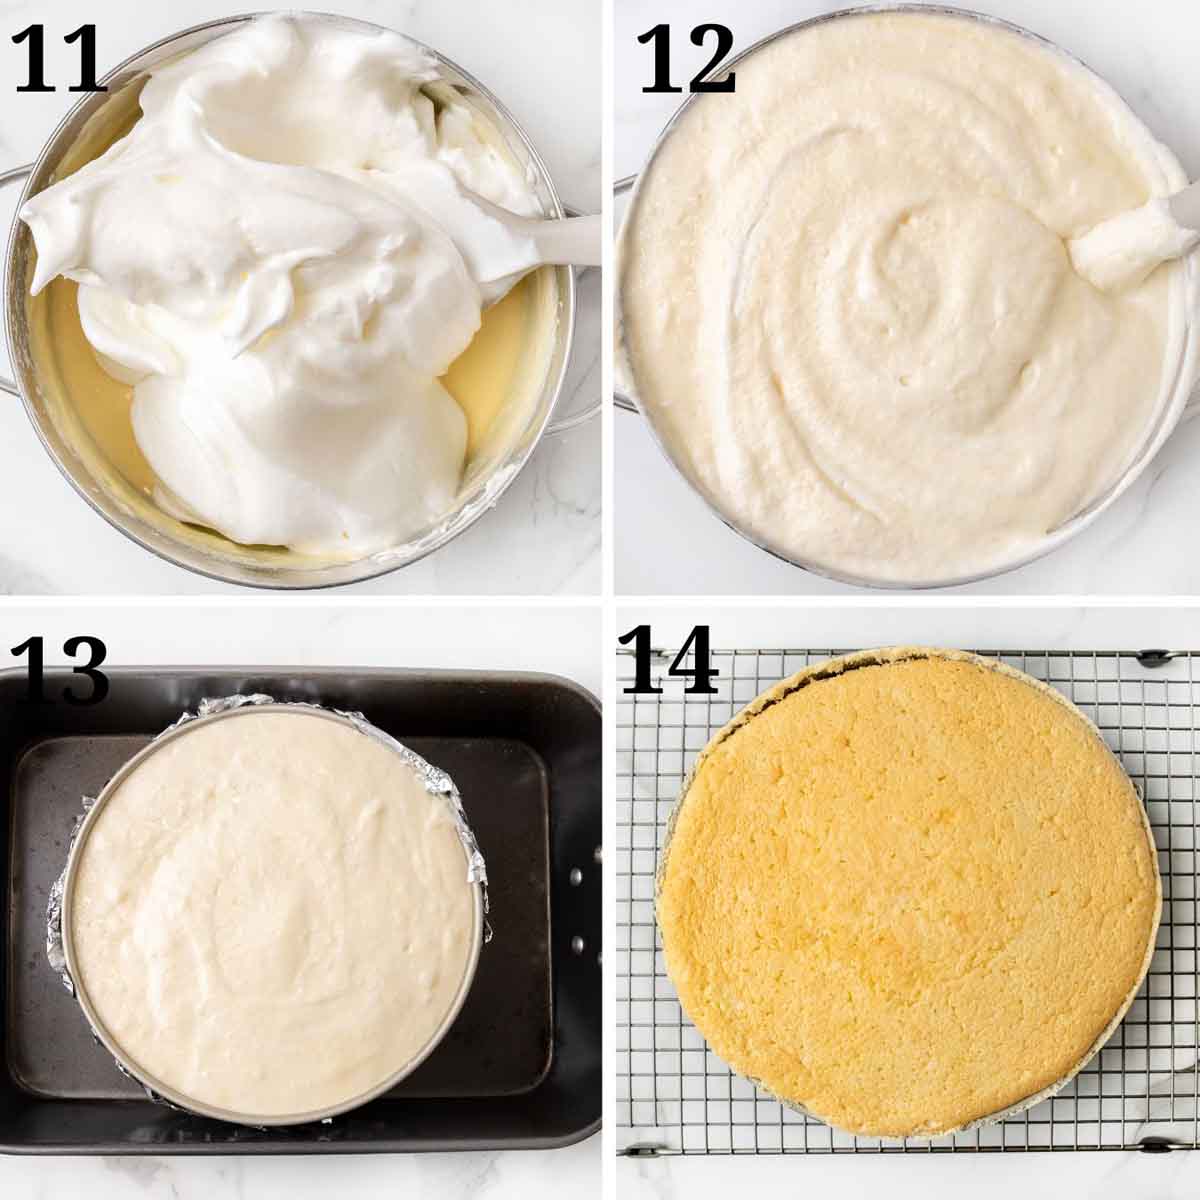
- Gently fold one-third of the whipped egg white mixture into the batter using a rubber spatula.
- Repeat the process until all of the whipped egg whites have been folded into the cake batter.
- Gently pour the batter into the prepared cake pan.
- Place the springform pan in a large roasting pan with high sides. Pour boiling water into the pan until it reaches halfway up the pan. The hot water bath will create a bain marie, which will help the cheesecake cook evenly and prevent cracking.
- Very carefully, place the baking pan on the rack in the lower third of the preheated oven and bake for 20 minutes.
- Reduce the oven temperature to 275 degrees F. and bake for an additional 75 – 80 minutes or until the top is golden brown.
Allow it to cool on a wire rack until cool to the touch.
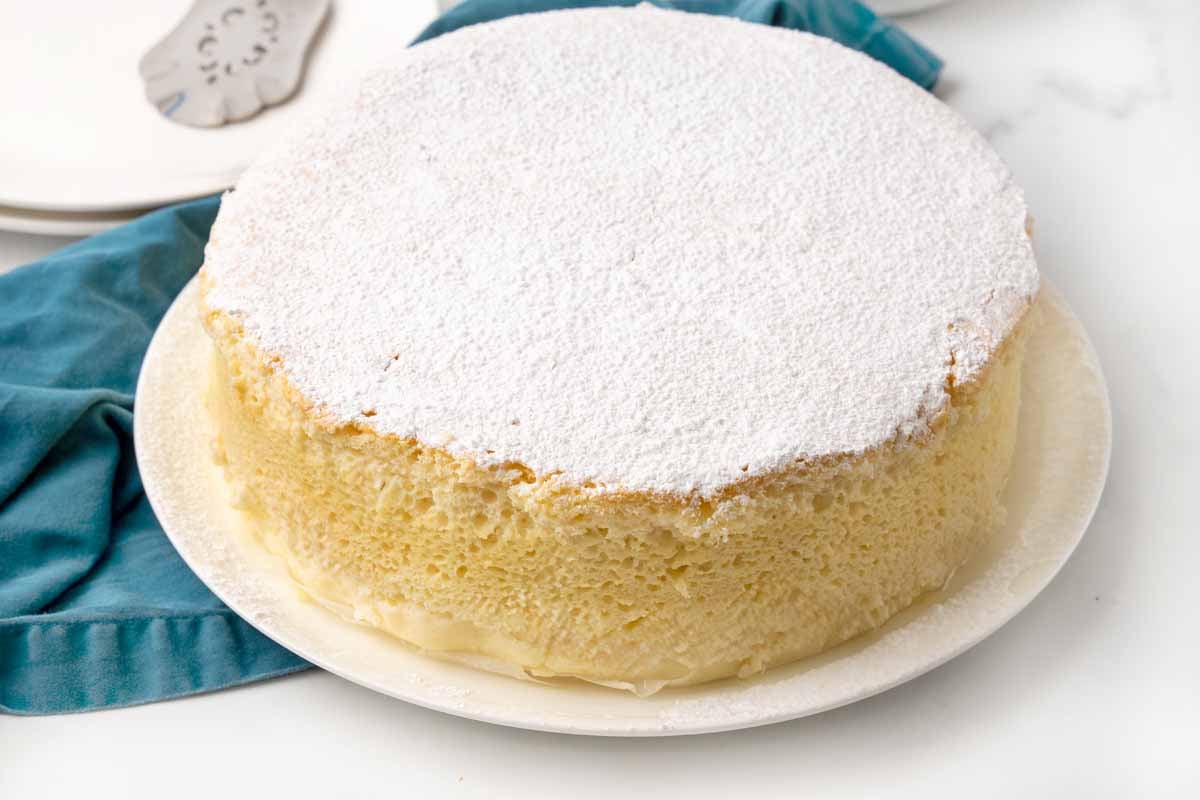
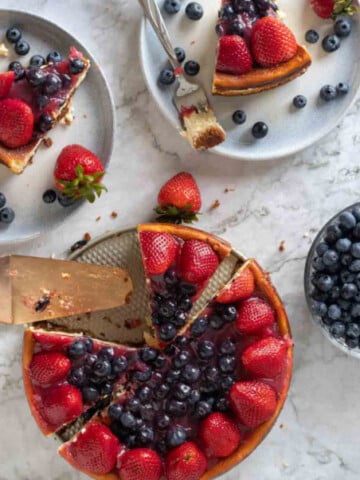
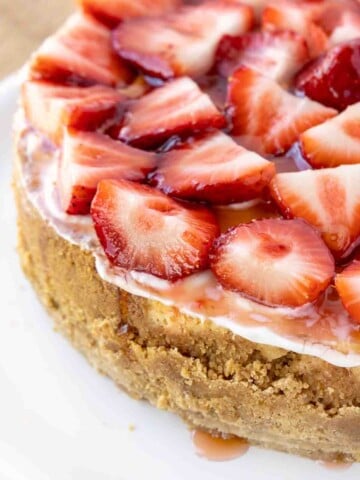
Dust it with powdered sugar and serve warm with fresh berries or your choice of fresh fruit and homemade whipped cream.

After one bite of our Japanese cheesecake, you’ll understand why its one of the most popular Japanese desserts around the planet. Jiggly Japanese cheesecake is perfect for dinner parties, family get-togethers, and potlucks. This fluffy cheesecake will not disappoint.
Leftovers should be stored refrigerated in an airtight container or tightly wrapped in plastic wrap for 3-4 days. The cheesecake can be stored in a freezer-safe container for up to two months.
Recipe FAQs
The distinct difference is the density and texture. Japanese cheesecake has a light and fluffy texture due to the large amount of whipped egg whites that are incorporated into the batter. This results in a much airier cake compared to denser, richer styles like New York cheesecake.
If the egg whites were not whipped long enough to get soft peaks, that will affect the texture. If the mixture isn’t lightly folded into the batter, that can also result in a dense cake. Under-mixing the egg whites into the batter can also result in a cake with a dense bottom and light top.
If your cheesecake cracks on top, the oven temperature was either too high, which causes the cheesecake to rise too quickly and crack. The other reason is that the cake was too close to the heating element. Place the rack in the lower third of the oven.
More Recipes You’ll Love!
Japanese Cheesecake
Equipment
- 8 inch springform pan
Ingredients
- 8 tablespoon unsalted butter ½ cup = – 1 stick
- ⅔ cup whole milk room temperature
- 8 oz cream cheese – block, not whipped
- 12 large egg whites room temperature
- 8 large egg yolks room temperature
- 1 tablespoon vanilla extract
- ½ cup all-purpose flour
- ½ cup cornstarch
- ⅔ cup granulated sugar
- ¼ teaspoon cream of tartar
Instructions
- Preheat the oven to 325 degrees F.
- Position a rack in the lower third of the oven.
- Cut a piece of heavy-duty aluminum foil large enough to reach the top of the pan on both sides. Fold the edges up and around the pan, this process will keep the springform pan waterproof.
- Repeat the process with two more sheets, starting at other spots on the pan so they overlap. Set aside until needed.
- Liberally grease the inside of the springform pan or spray with baking spray.
- Add the all-purpose flour and cornstarch to a large bowl whisk to combine, then sift the mixture. Se aside until needed.
- Add the cream cheese, unsalted butter, and whole milk to a medium saucepan over medium-low heat. Stir until the mixture is completely smooth. Allow to cool completely.
- Add the egg whites, cream of tartar, and granulated sugar In the bowl of a stand mixer fitted with the whip attachment, whip on high speed until you get soft peaks.
- Add the egg yolks to the cooled cream cheese mixture and whisk until pale.
- Add the flour mixture and vanilla extract to the egg yolk mixture. Mix until just combined.
- Gently fold ⅓ of the whipped egg white mixture into the batter using a rubber spatula. Repeat the process until all of the whipped egg whites have been folded into the mixture.
- Gently pour the batter into the prepared springform pan.
- Place the springform pan in a large oven-safe pan with high sides.
- Pour boiling water into the pan until it reaches halfway up the springform pan.
- Very carefully, place the baking pan on the rack placed on the lower third of the preheated oven and bake for 20 minutes.
- Reduce the oven temperature to 275 degrees F. and bake for an additional 75 – 80 minutes or until the top is golden brown.
- Let the cheesecake cool on a wire rack until cool to the touch.
- Serve with fresh berries and a sprinkle of powdered sugar.
Notes
- All of the cold ingredients should be at room temperature. The cream cheese and butter should be soft and spreadable.
- Separate the eggs while they are cold, then let them come to room temperature. When beaten, egg whites should be at room temperature to achieve the best results.
- To make the recipe, use an 8-inch springform pan or an 8-inch round 3-inch deep cake pan. Place a parchment circle in the bottom of the pan to make removing the cake from the pan easier.
- The water bath is essential; it allows the cake to be baked at a consistent temperature.
Leave a Comment